Hello. Sorry it’s been awhile. My life has exploded in the last few weeks as 1) I realize I have less than 1 week until I return to work (crying) and 2) my master’s program is getting really fun (tedious).
Anyway, I’ve been collecting all sorts of goodies to create and fix up, but have not had the time 😦
In the meanwhile, check out the awesome DIY project my fabulous sister and her boyfriend created:
DIY Bar from Baby Changing Table
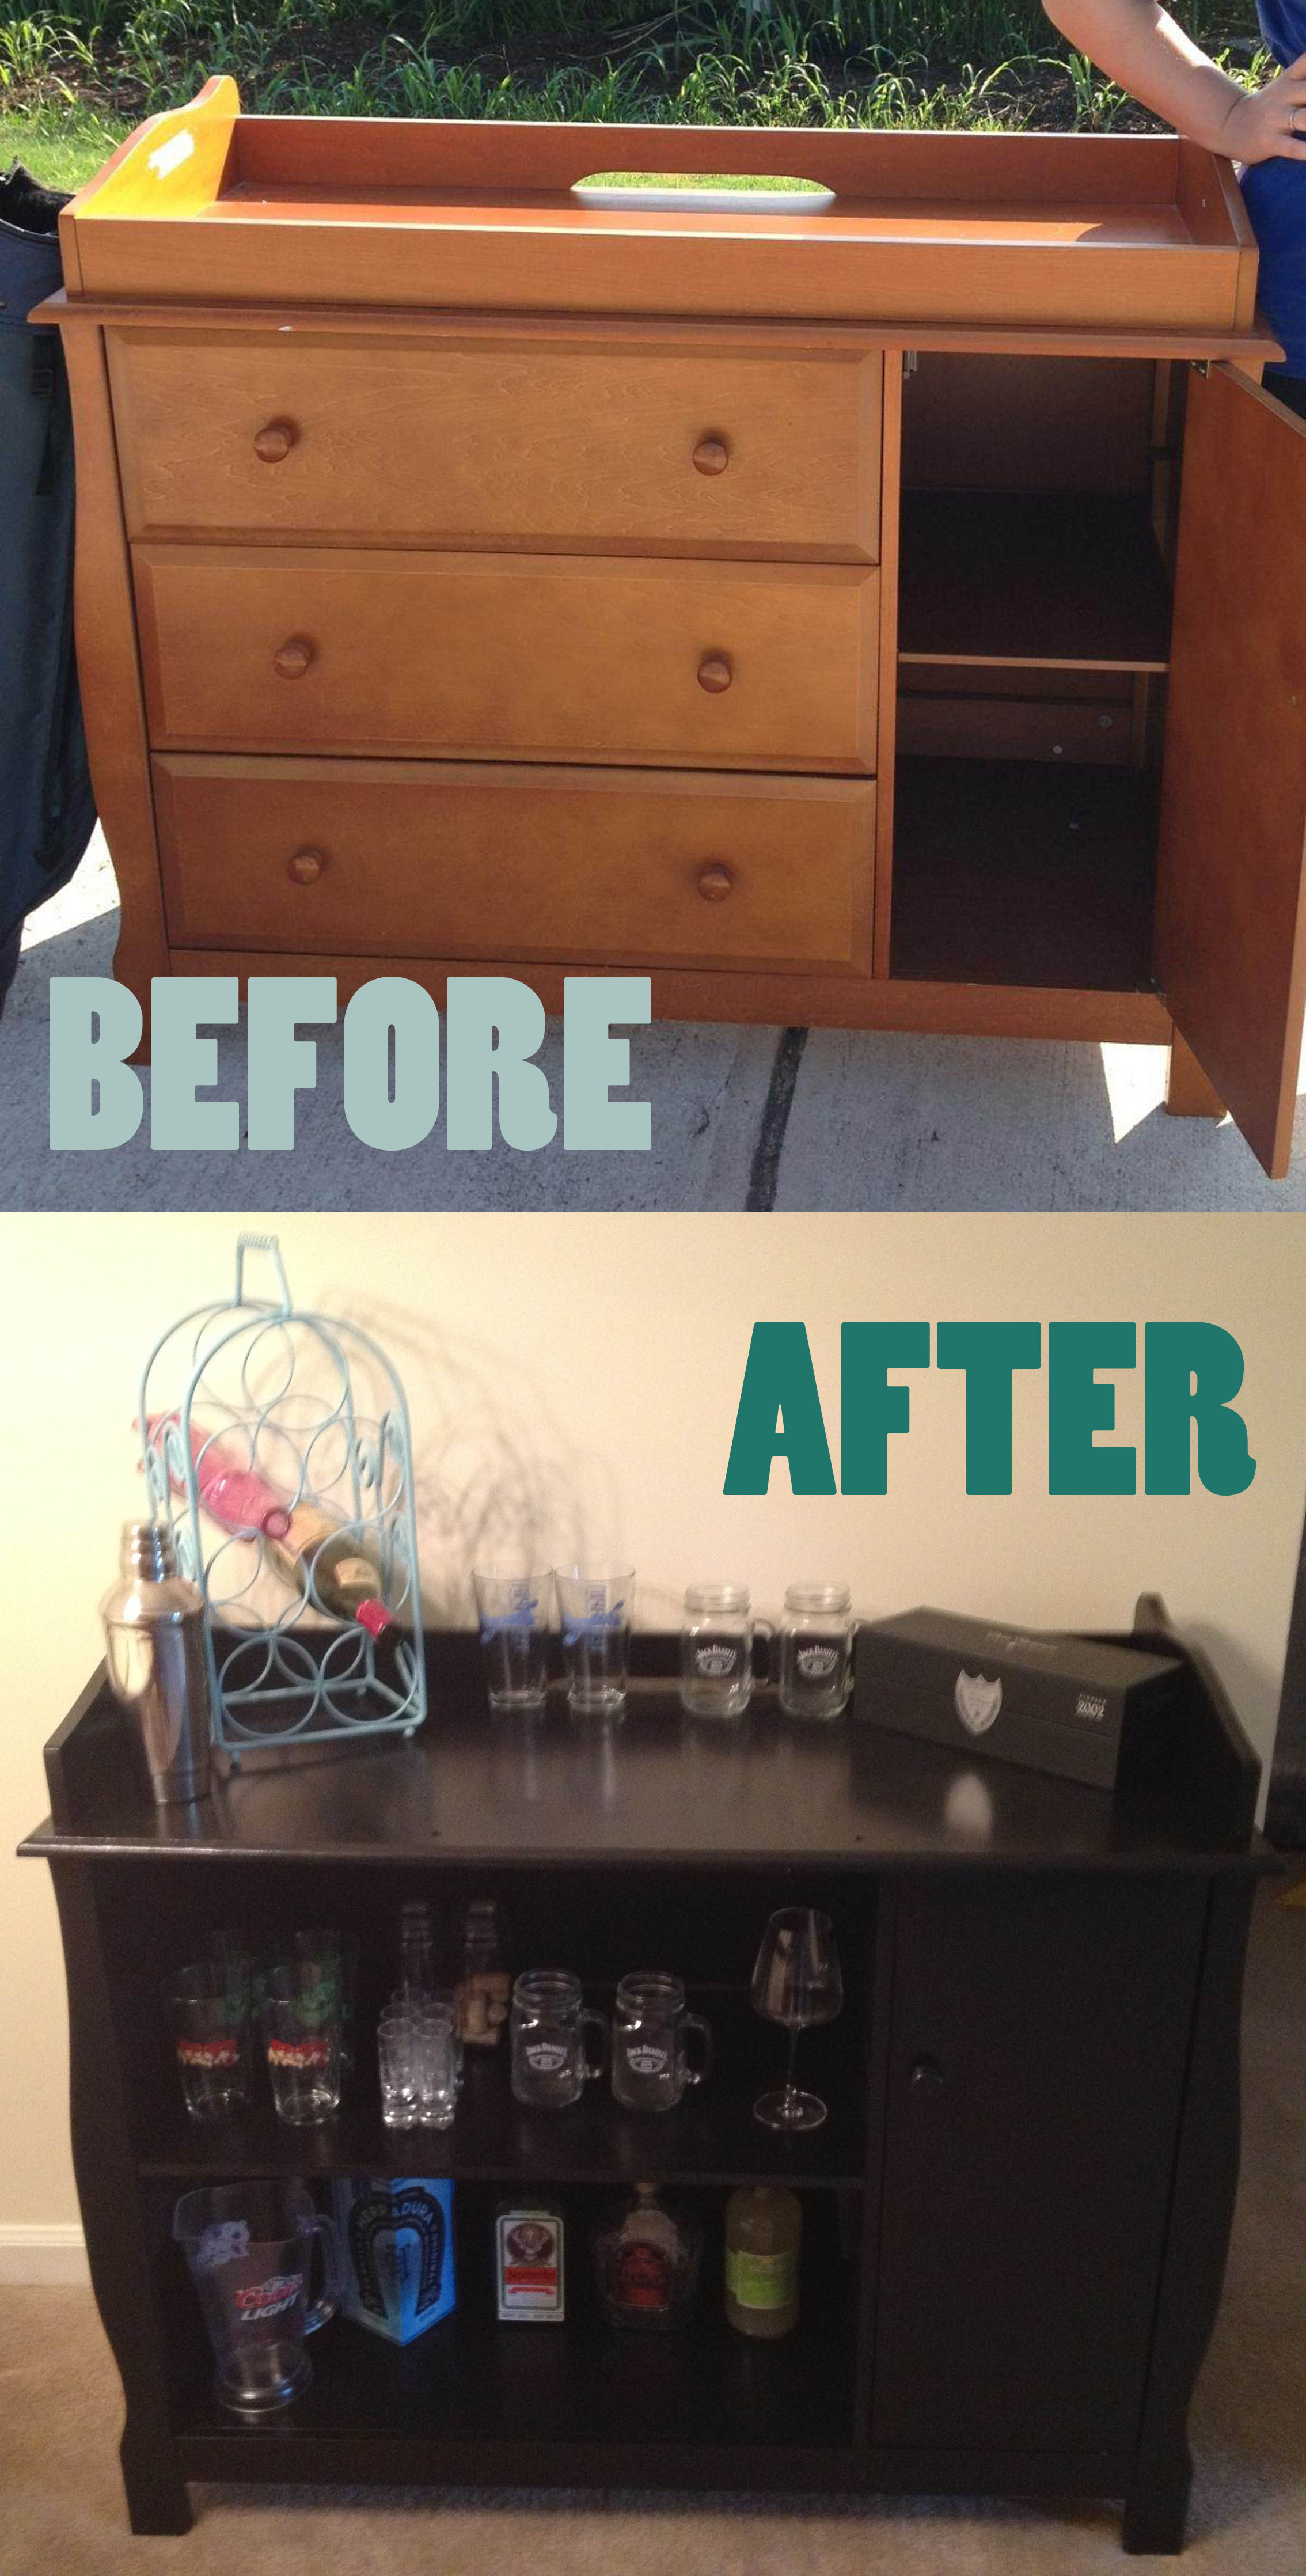
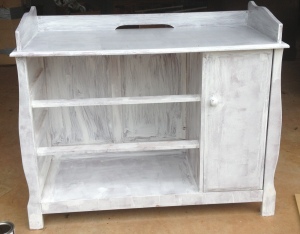
I found this changing table at a garage sale with my friend M for $30. I knew it would be the perfect height for a bar and Kitten Sorceress (sis) thought so, too.
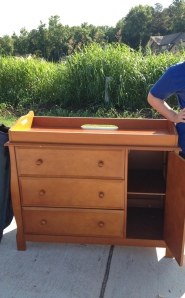
Baby changing table: $30. Excuse M’s arm in the picture 🙂 She stood next to it so we could show the height of the piece.
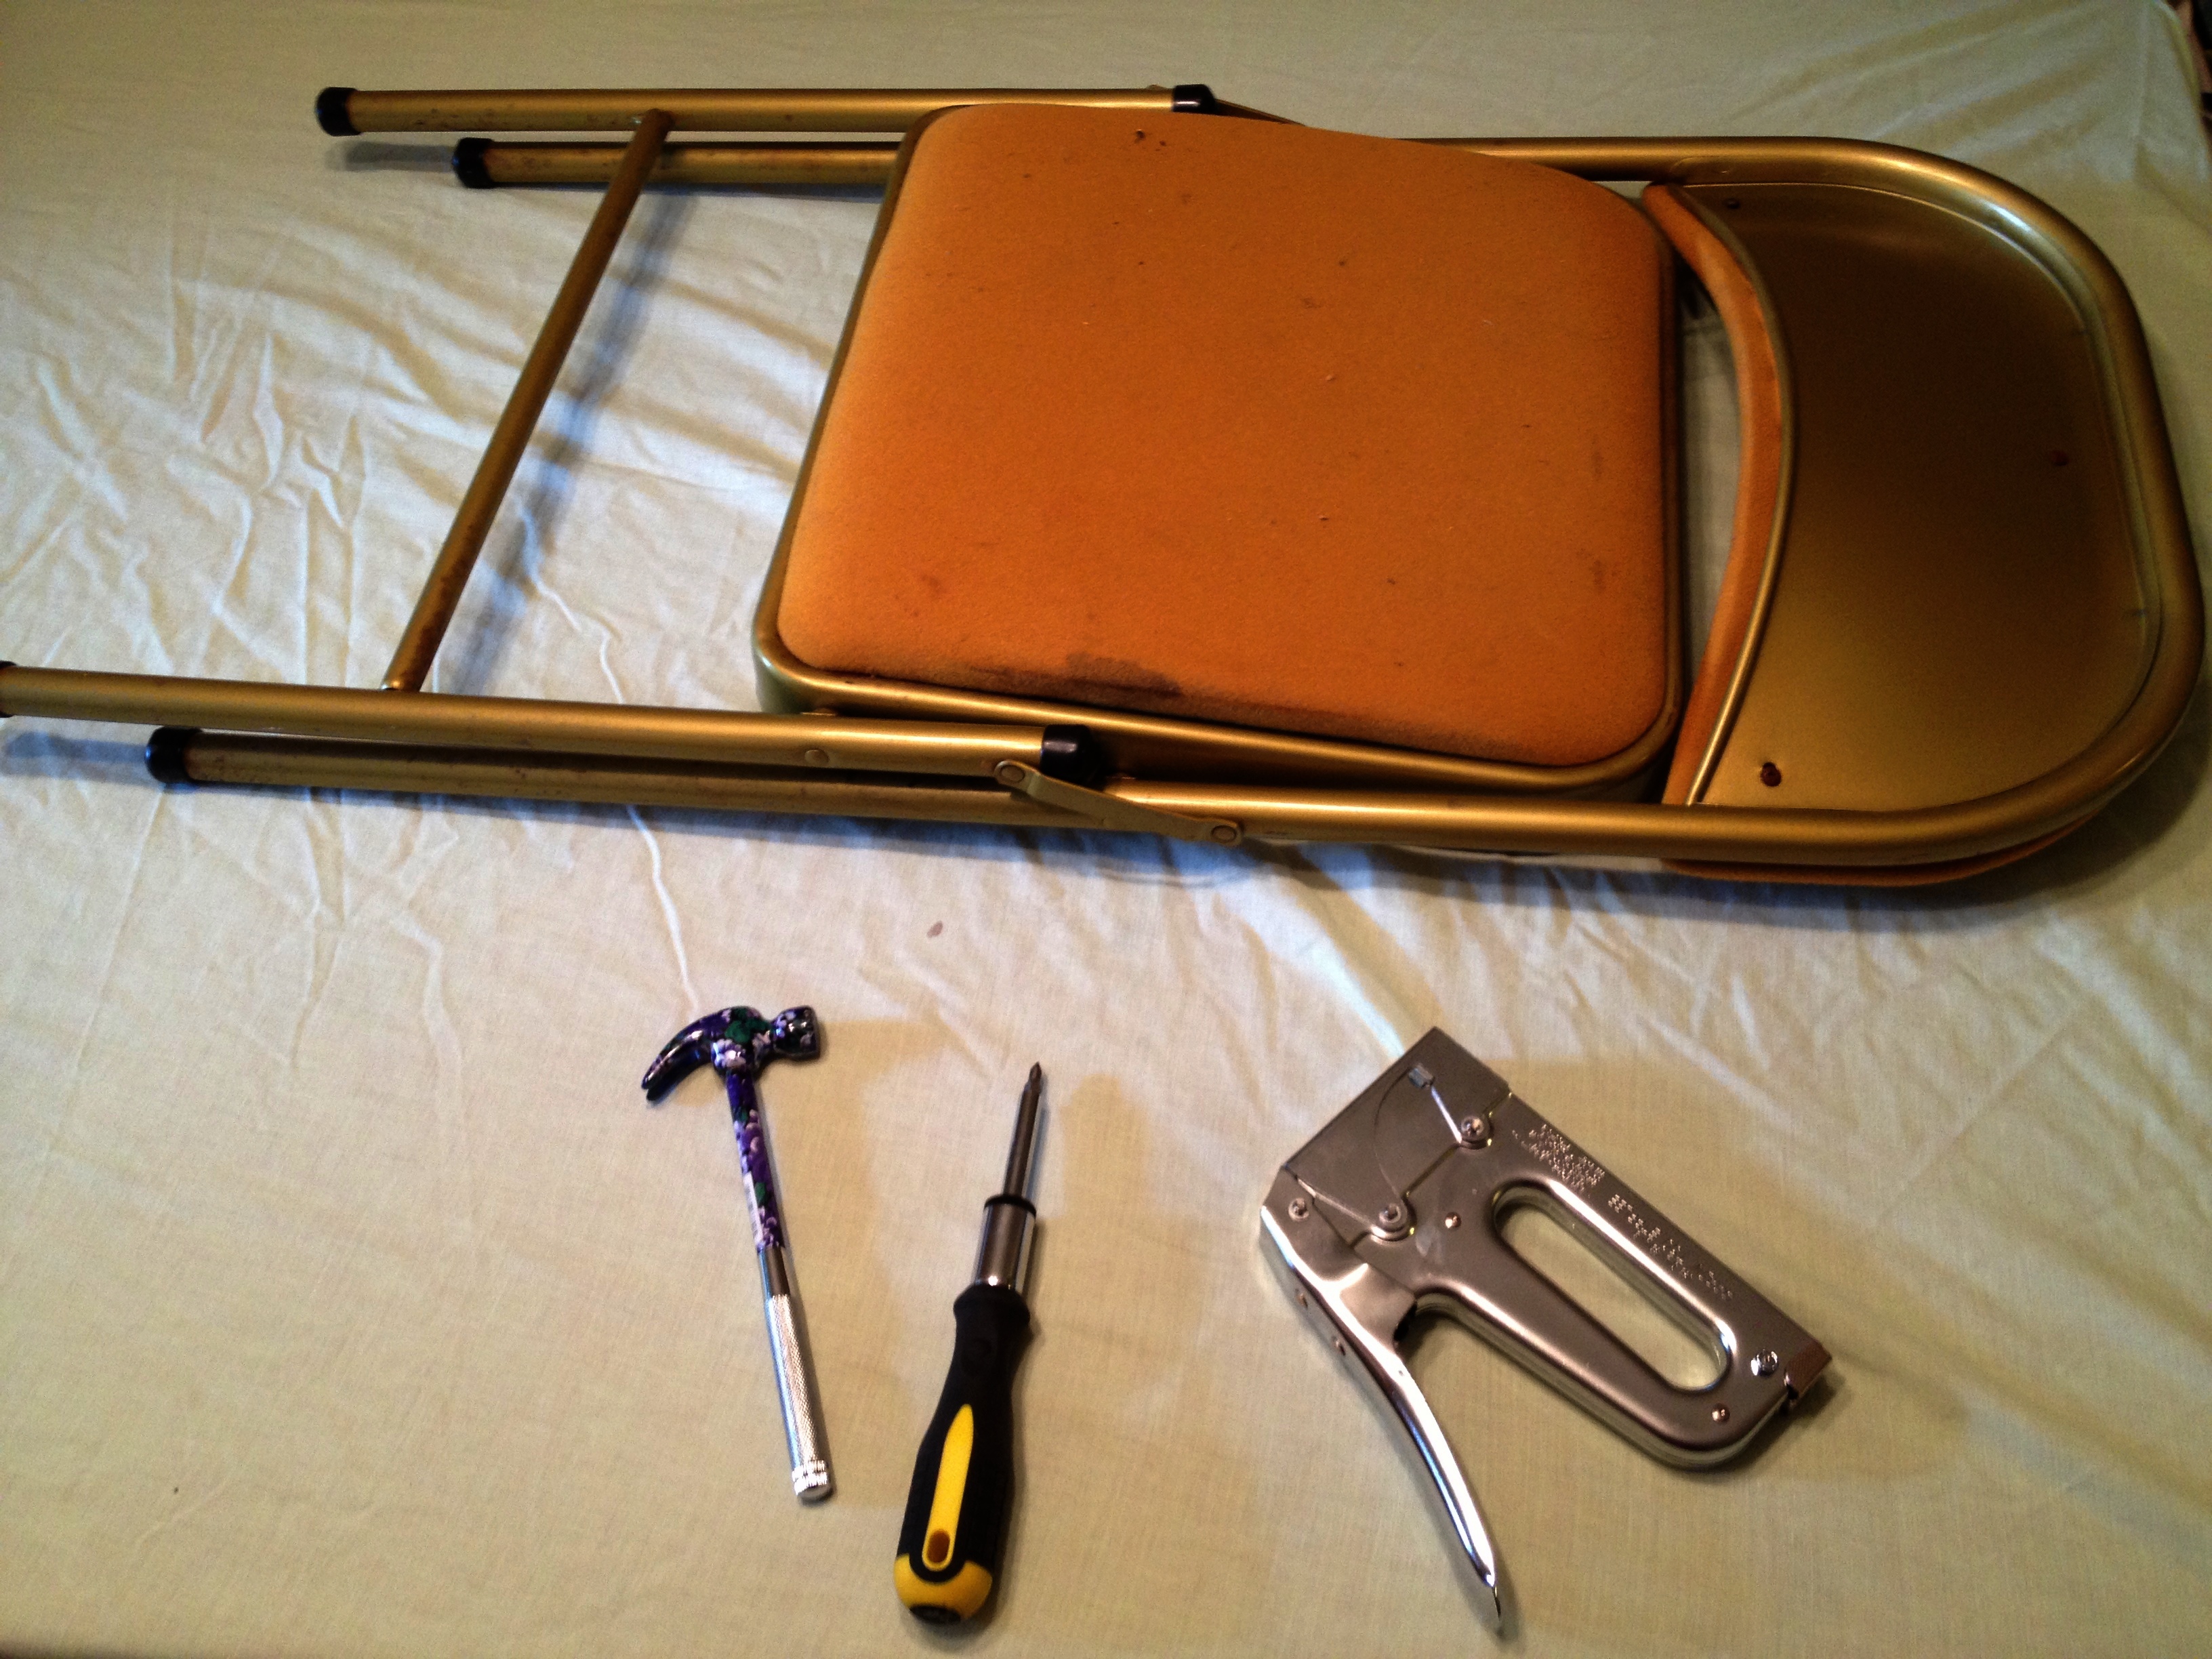
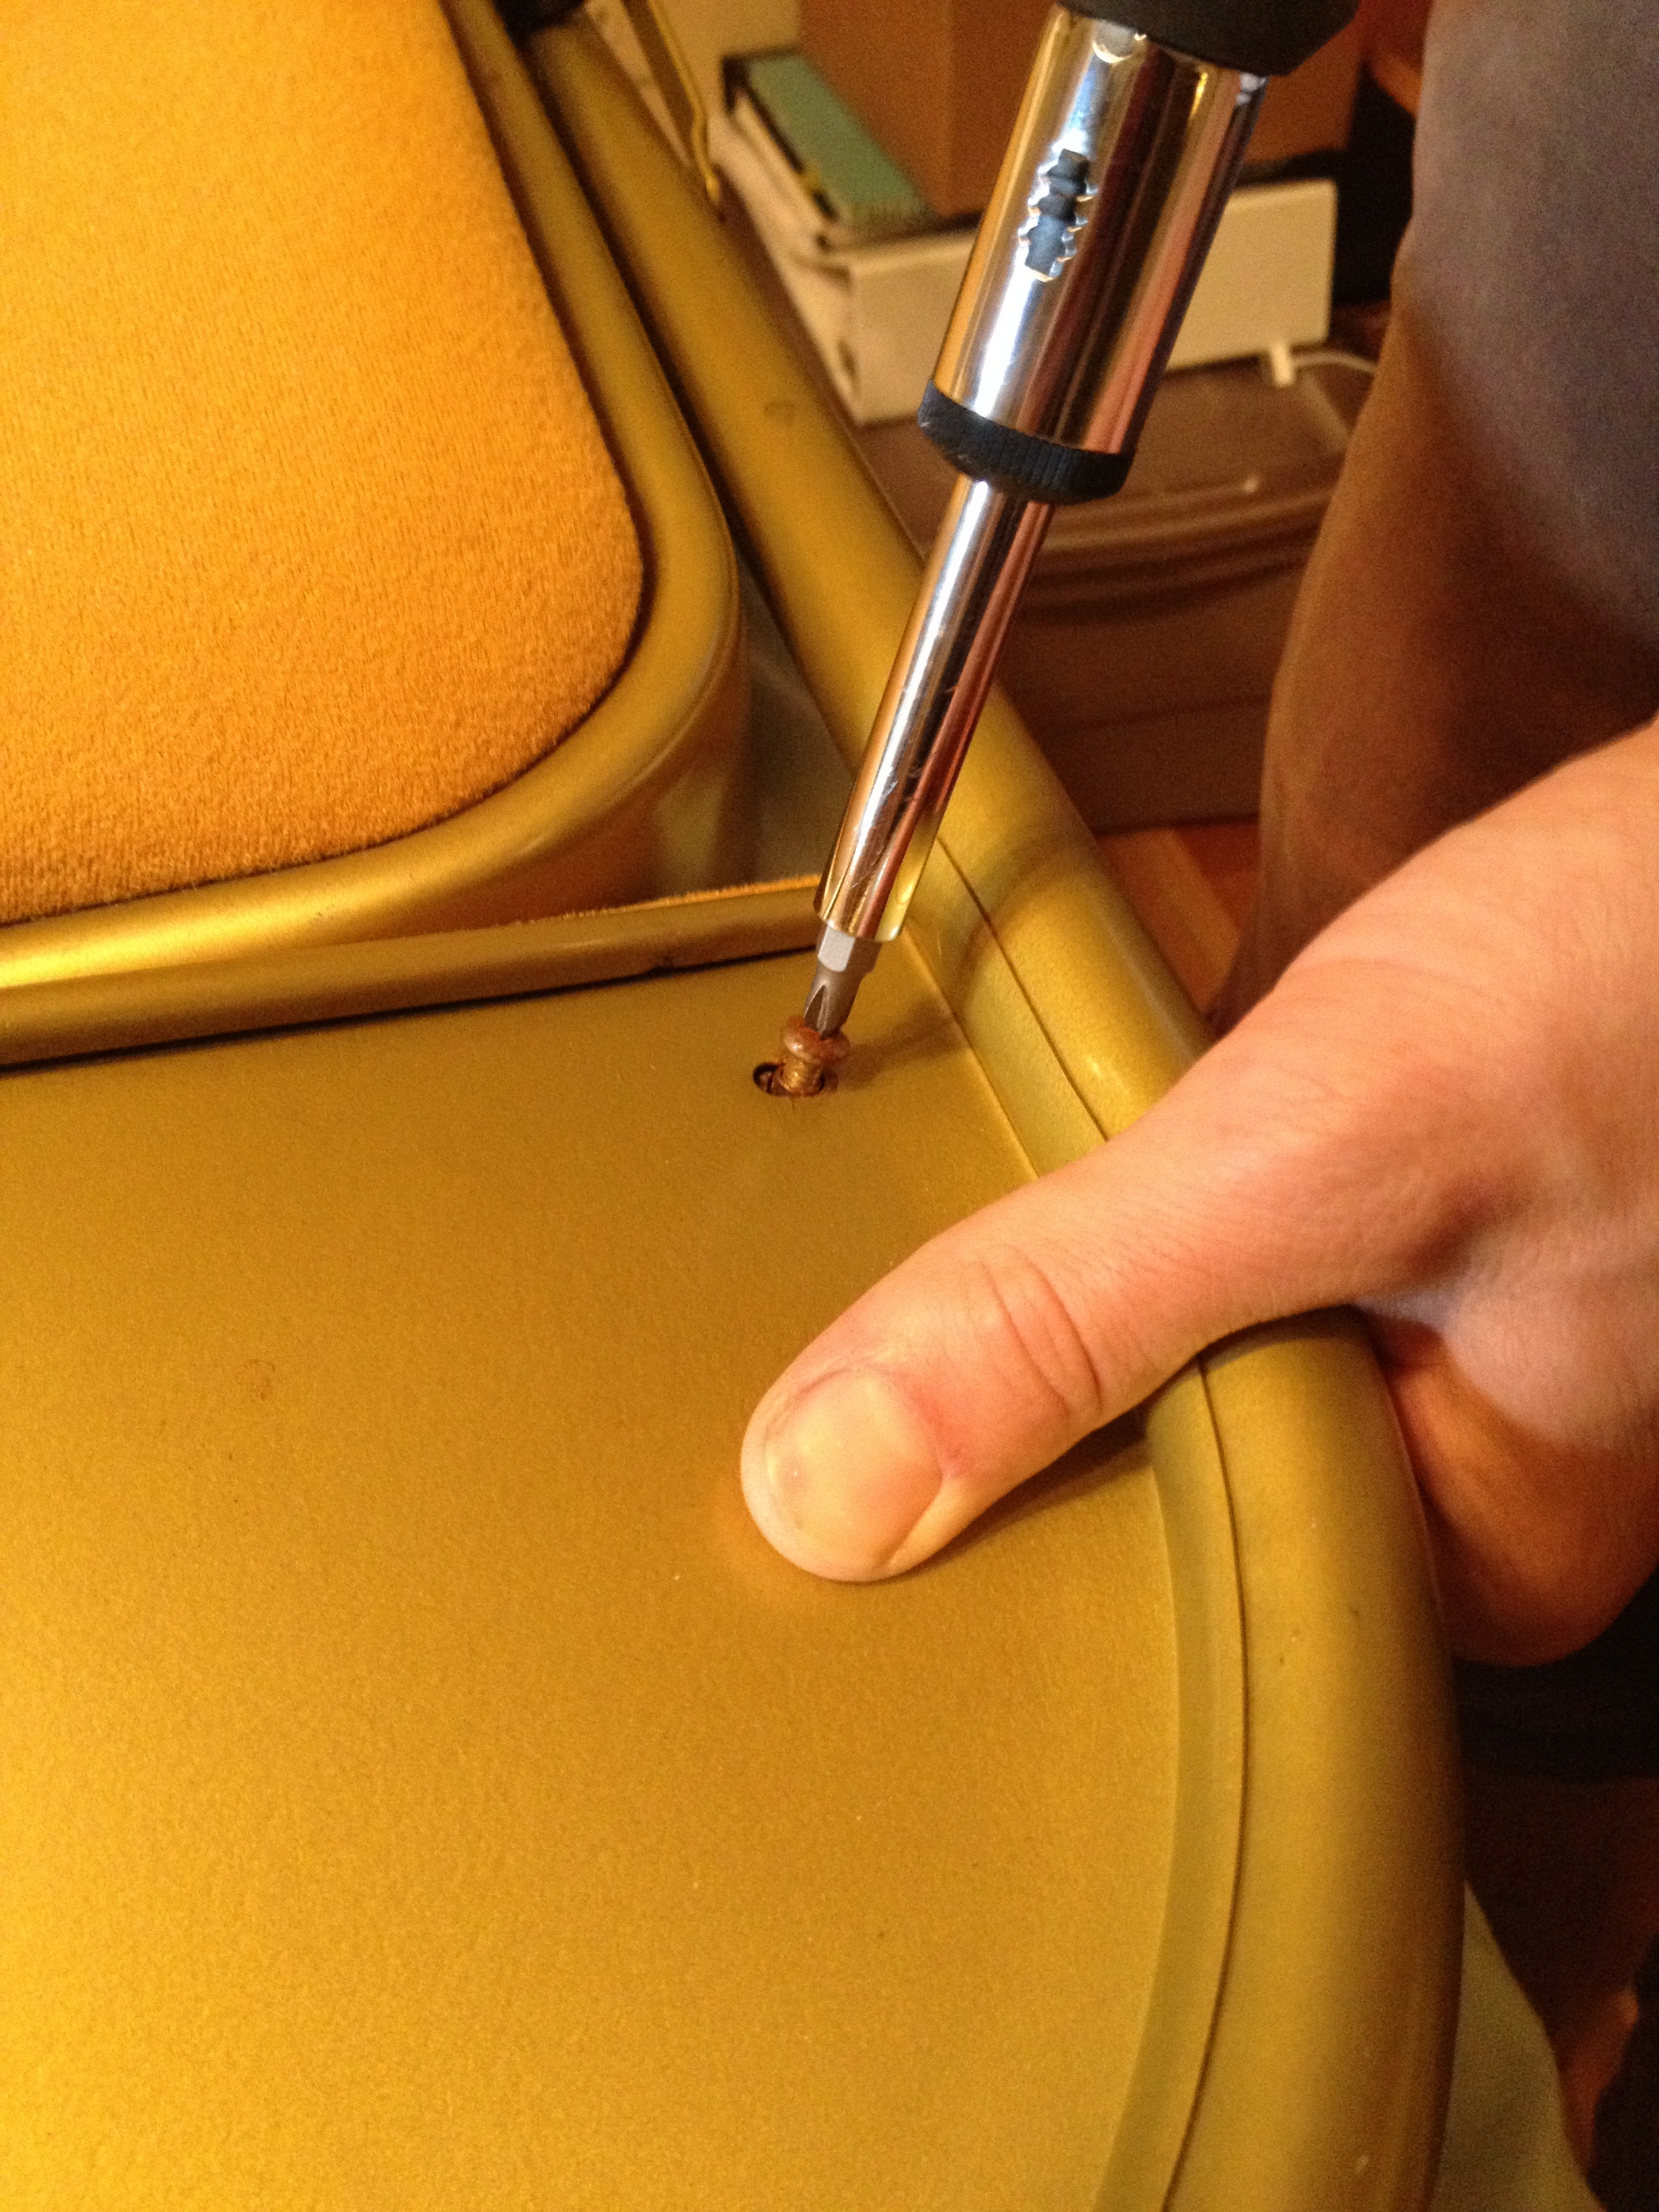
To begin, one of the “rails,” for lack of a better word, was removed. You could remove all of them, of course. Whatever you prefer.
Next, paint the table using a primer. This will make your piece look SO much better! Believe me, I’ve done it without a primer before and it’s just not the same. If you’re really super amazing, do two coats of primer. Even better. It’s okay if it looks sloppy- you’re just covering the piece. Sis used a small roller for the large, flat areas and a brush for the hard to reach places and corners.
Changing table with primer
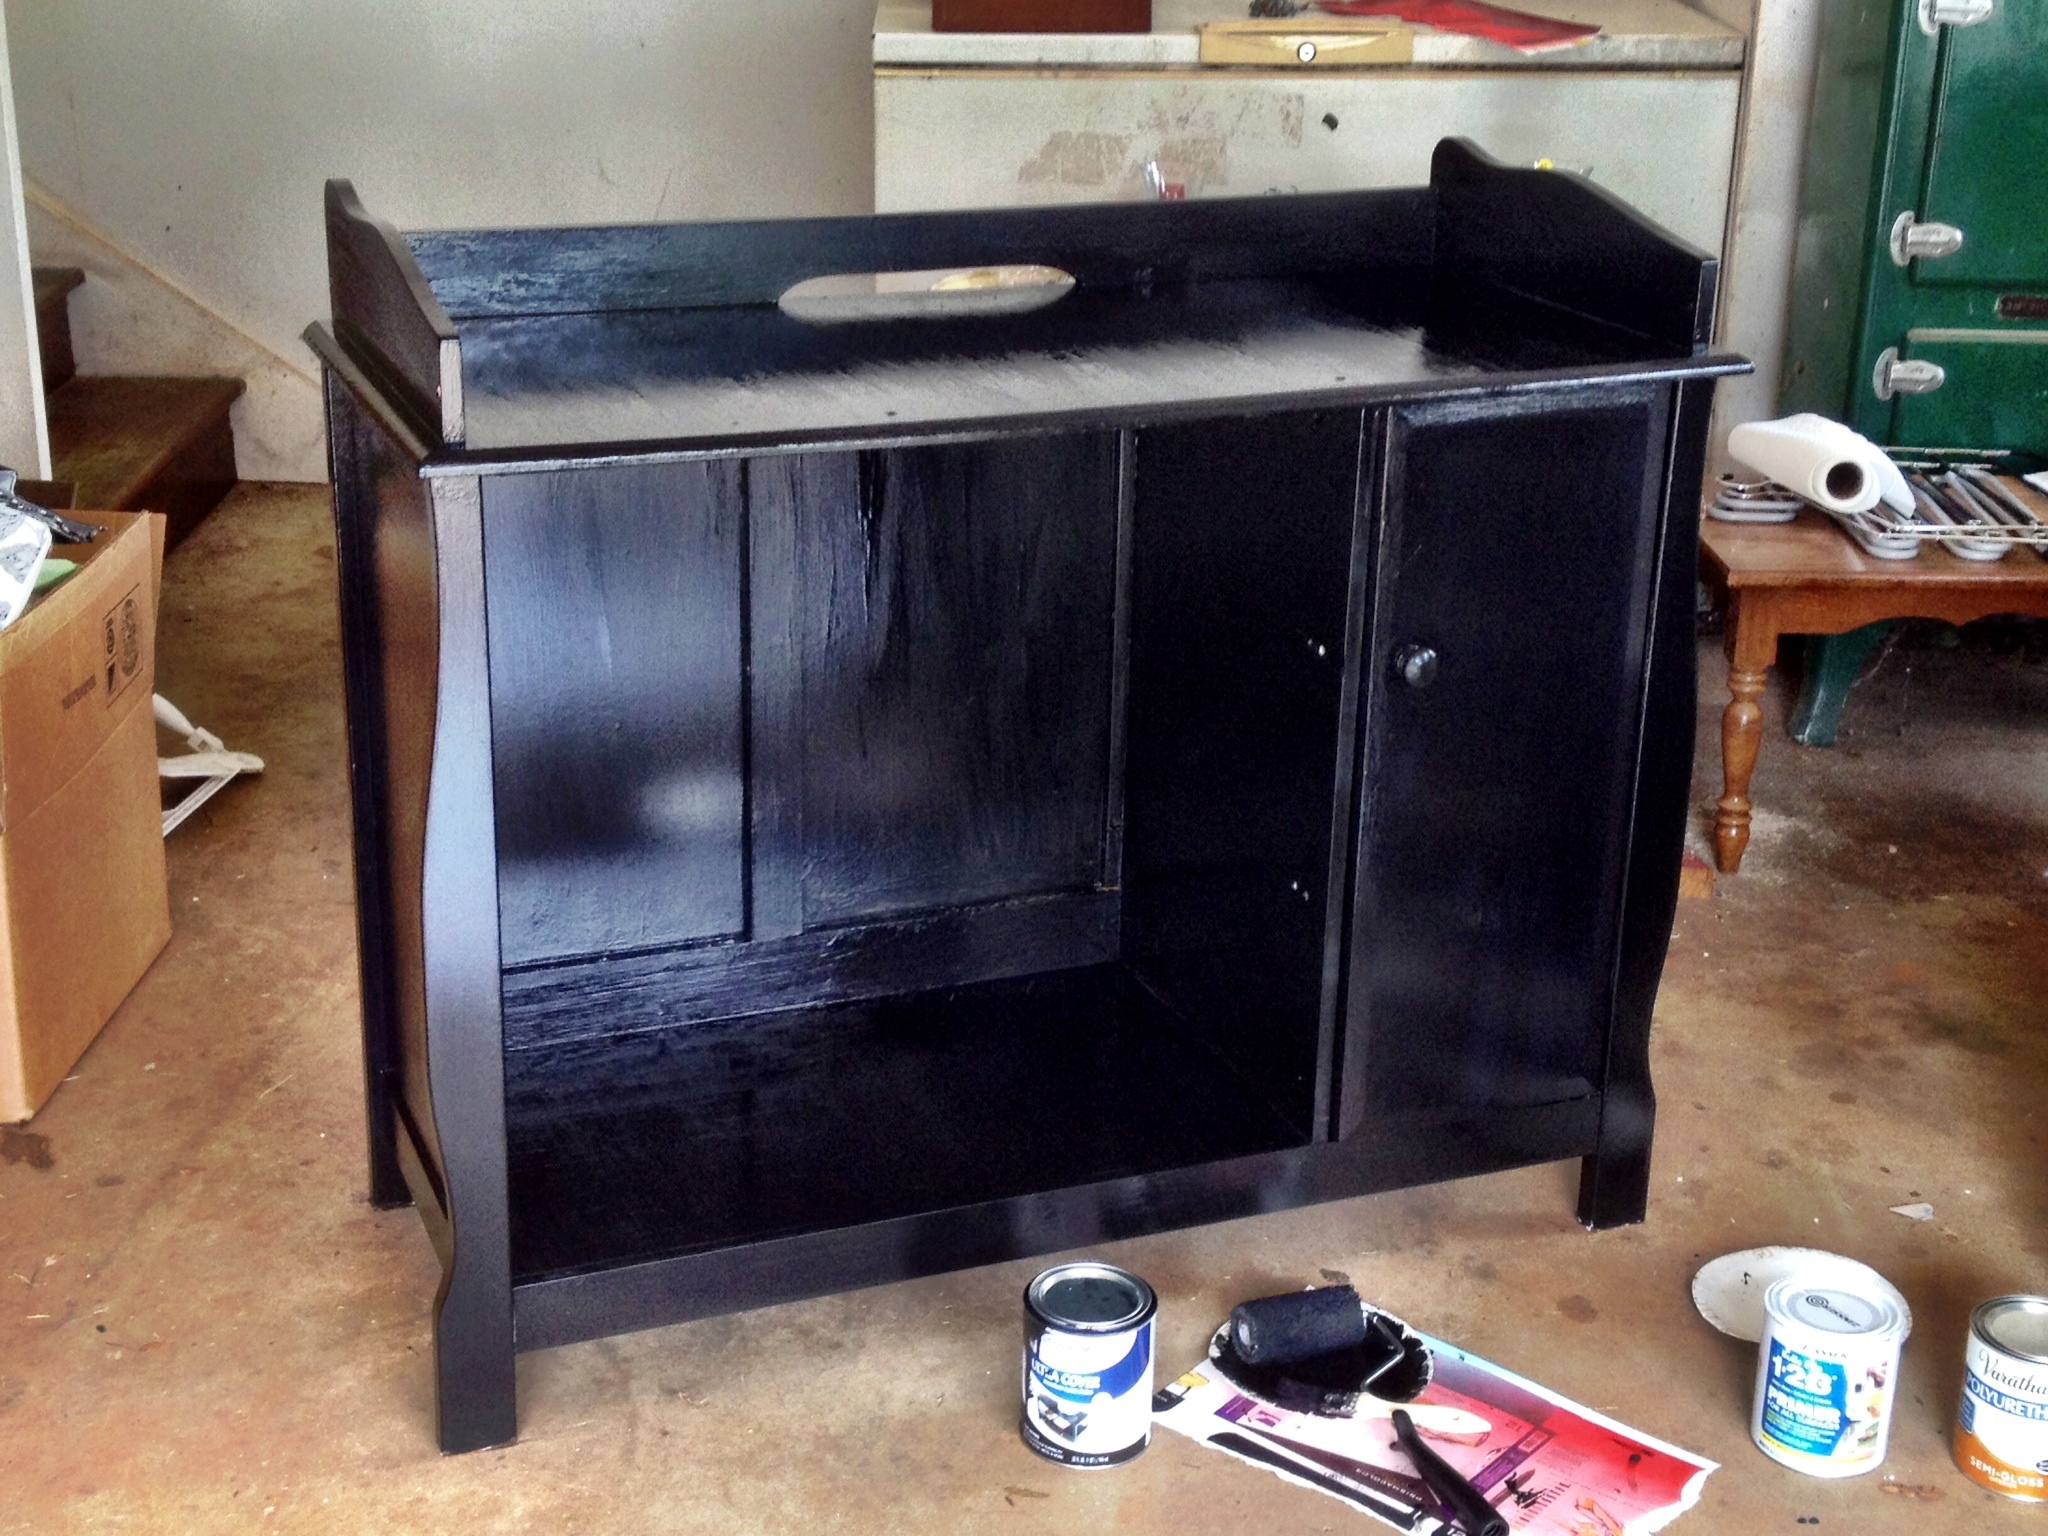
Once the primer has dried, you can begin painting with whatever paint you chose. Now. You must be patient. Some pieces may take a few coats. You have to be willing to wait! If you’re like me, you may sometimes get it in your head that YOU HAVE TO HAVE IT RIGHT NOW. Yeah, not gonna work for this type of project. If you want it to look amazing, go ahead and accept that this will be a weekend project. Primer on Friday, 2 coats on Saturday, another coat on Sunday…you get the picture.

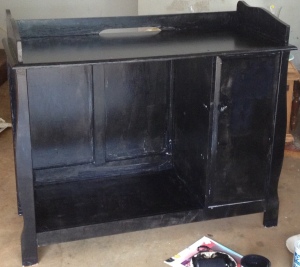
First coat
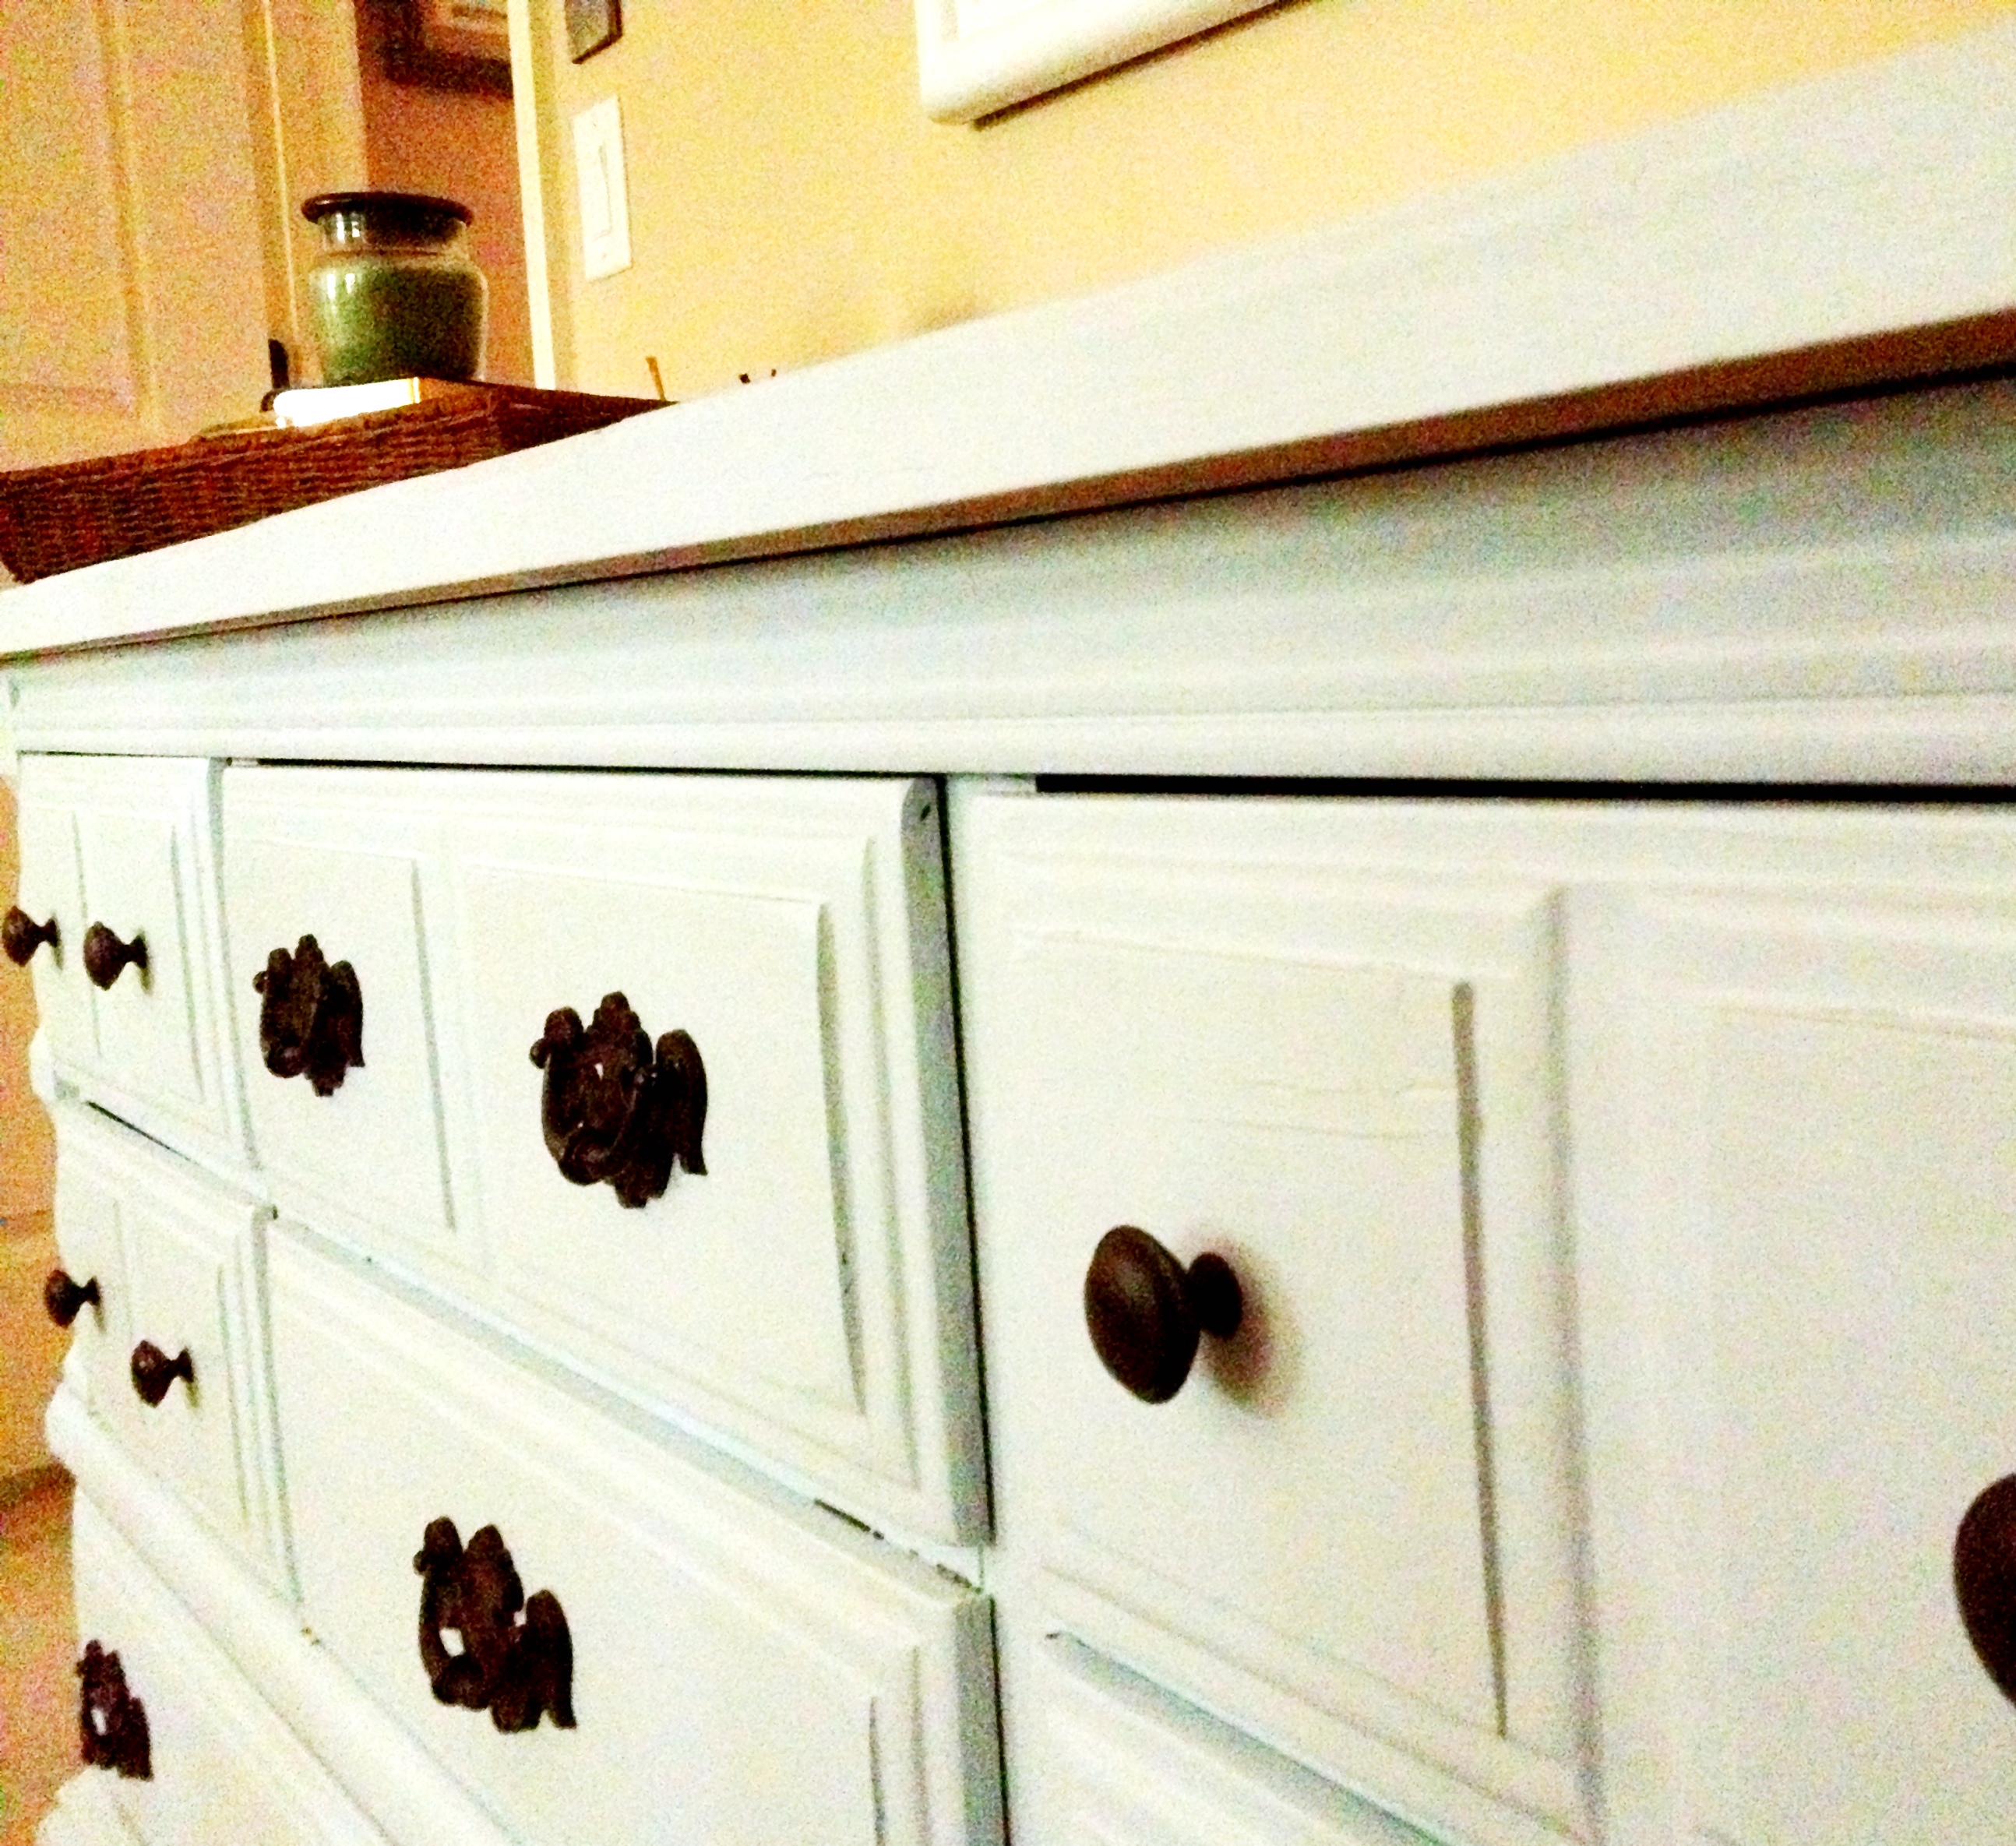
Final coat
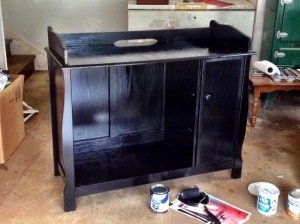
Since Kitten Sorceress and Boyfriend wanted a bar, they took out the drawers (PROJECT IDEA! Use the drawers for storage under your bed).
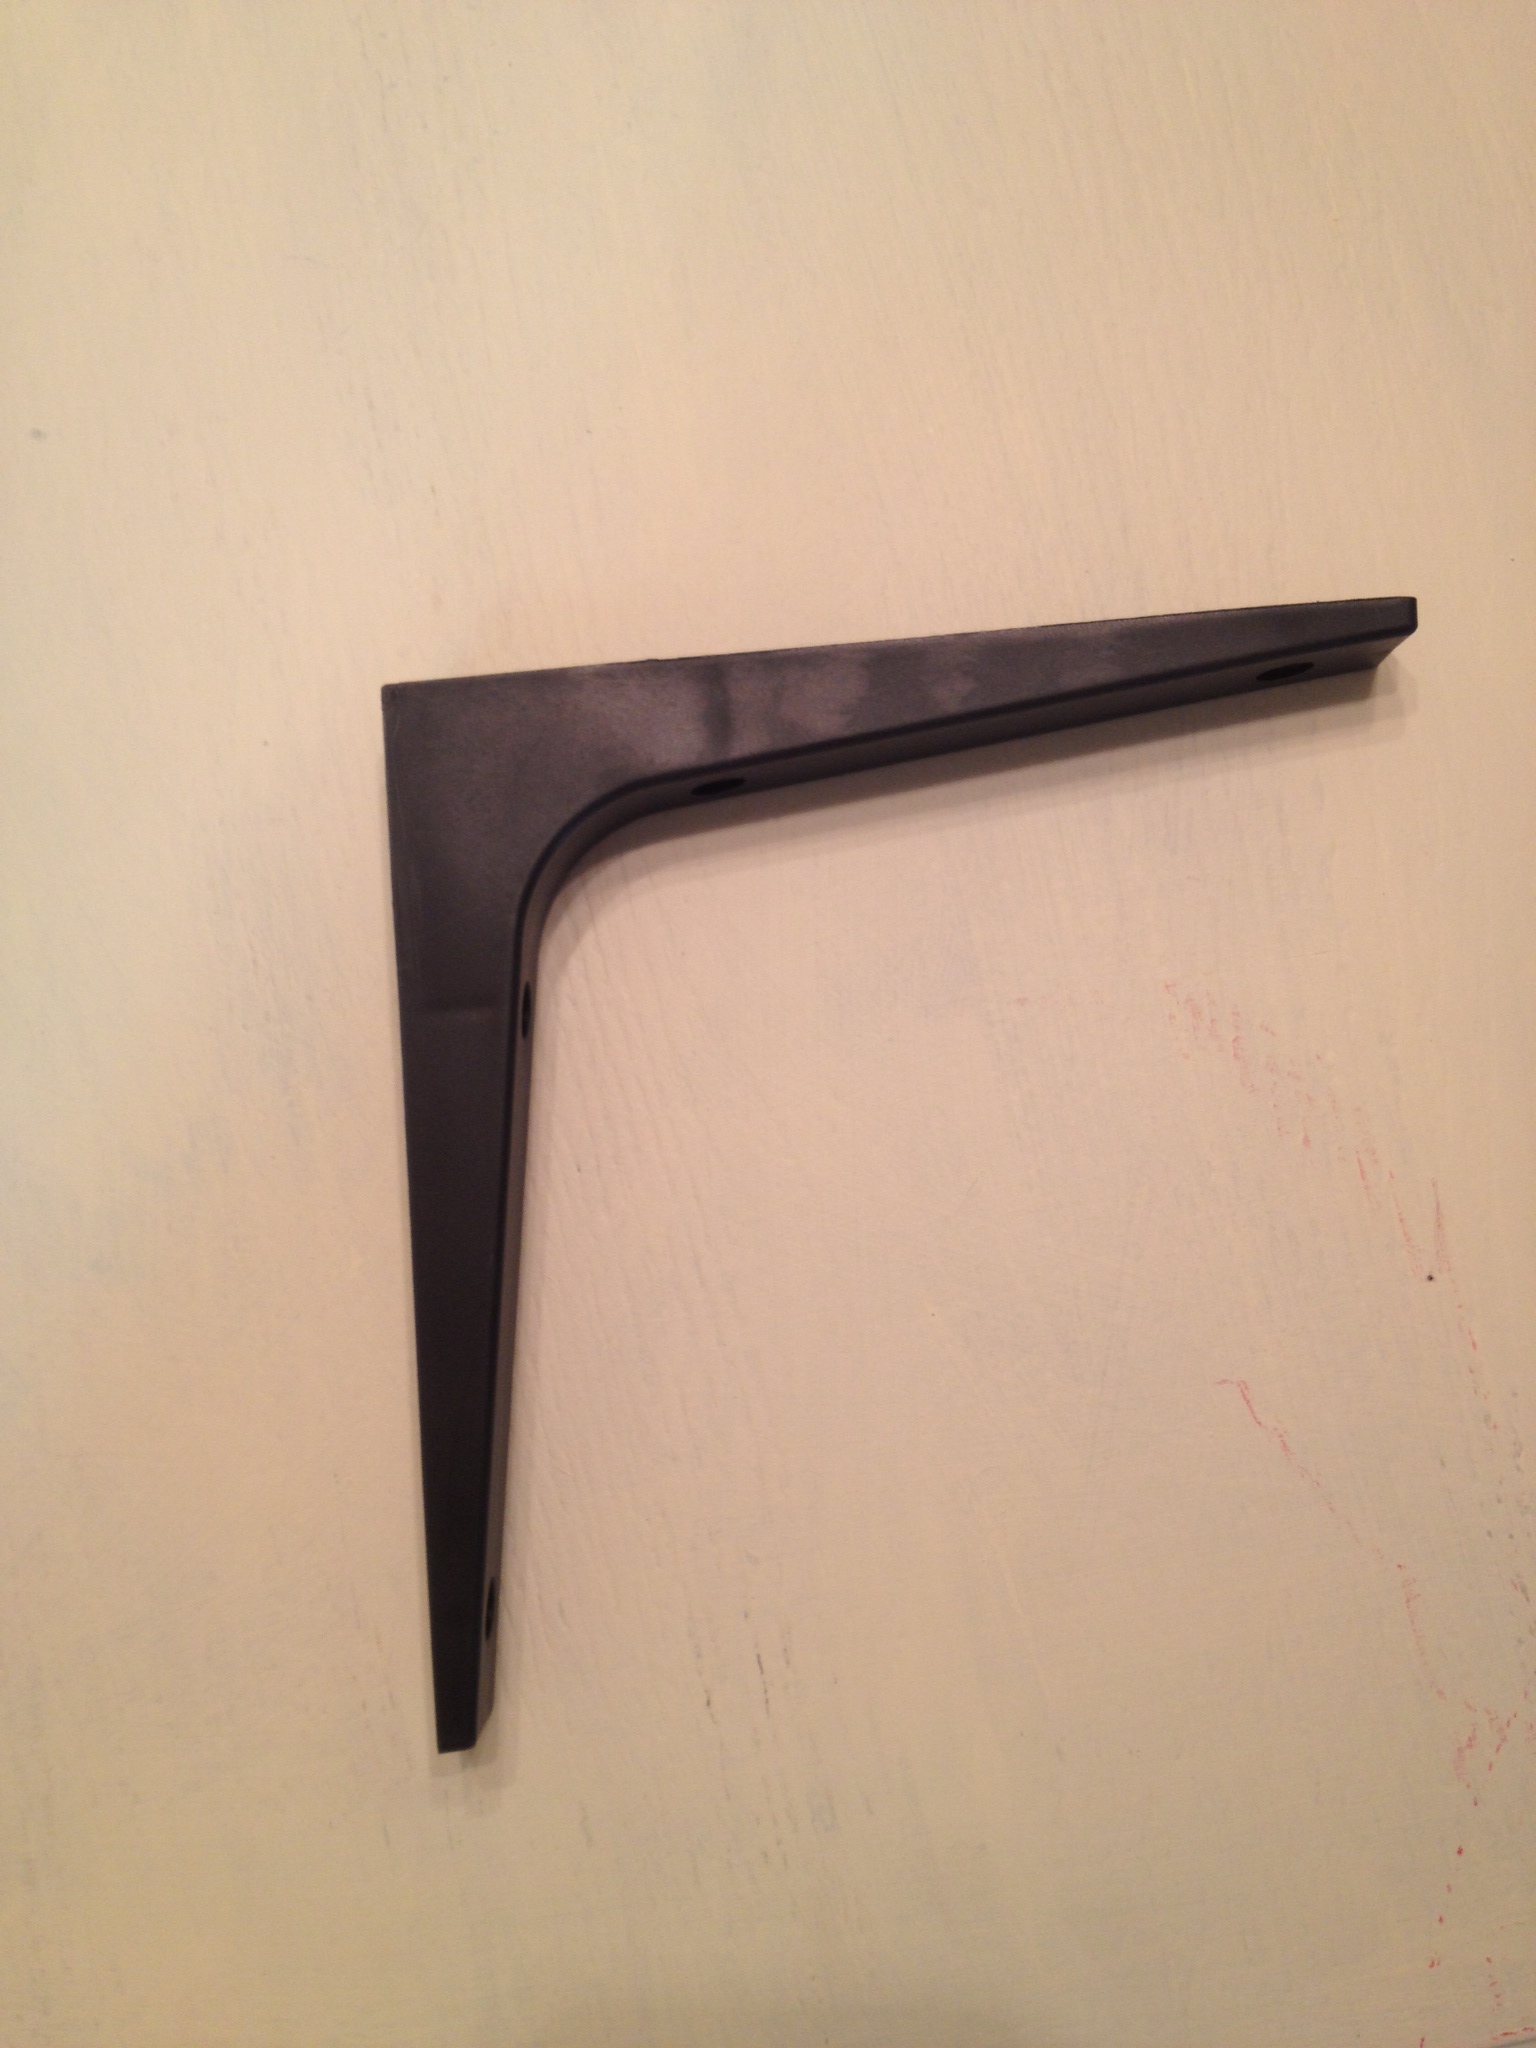
They also added a shelf to create additional storage space. To add a custom shelf to your piece, first measure the depth and width of your piece. If you have extra wood lying around because you’re so cool, use it. If not, head to your local home improvement store (shameless plug for Georgia favorite, Home Depot) and have them cut the board to the correct size. Next, prime and paint the shelf. Finally, attach the shelf using any sort of brackets you have/can pick up. They got their’s from IKEA for $1.50 (total).
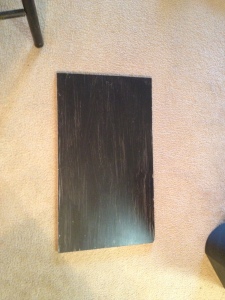
Custom shelf- wood cut from Home Depot
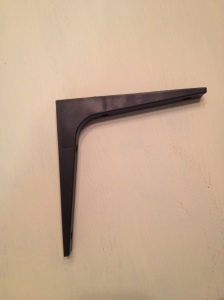
Brackets from IKEA: $0.50 a piece
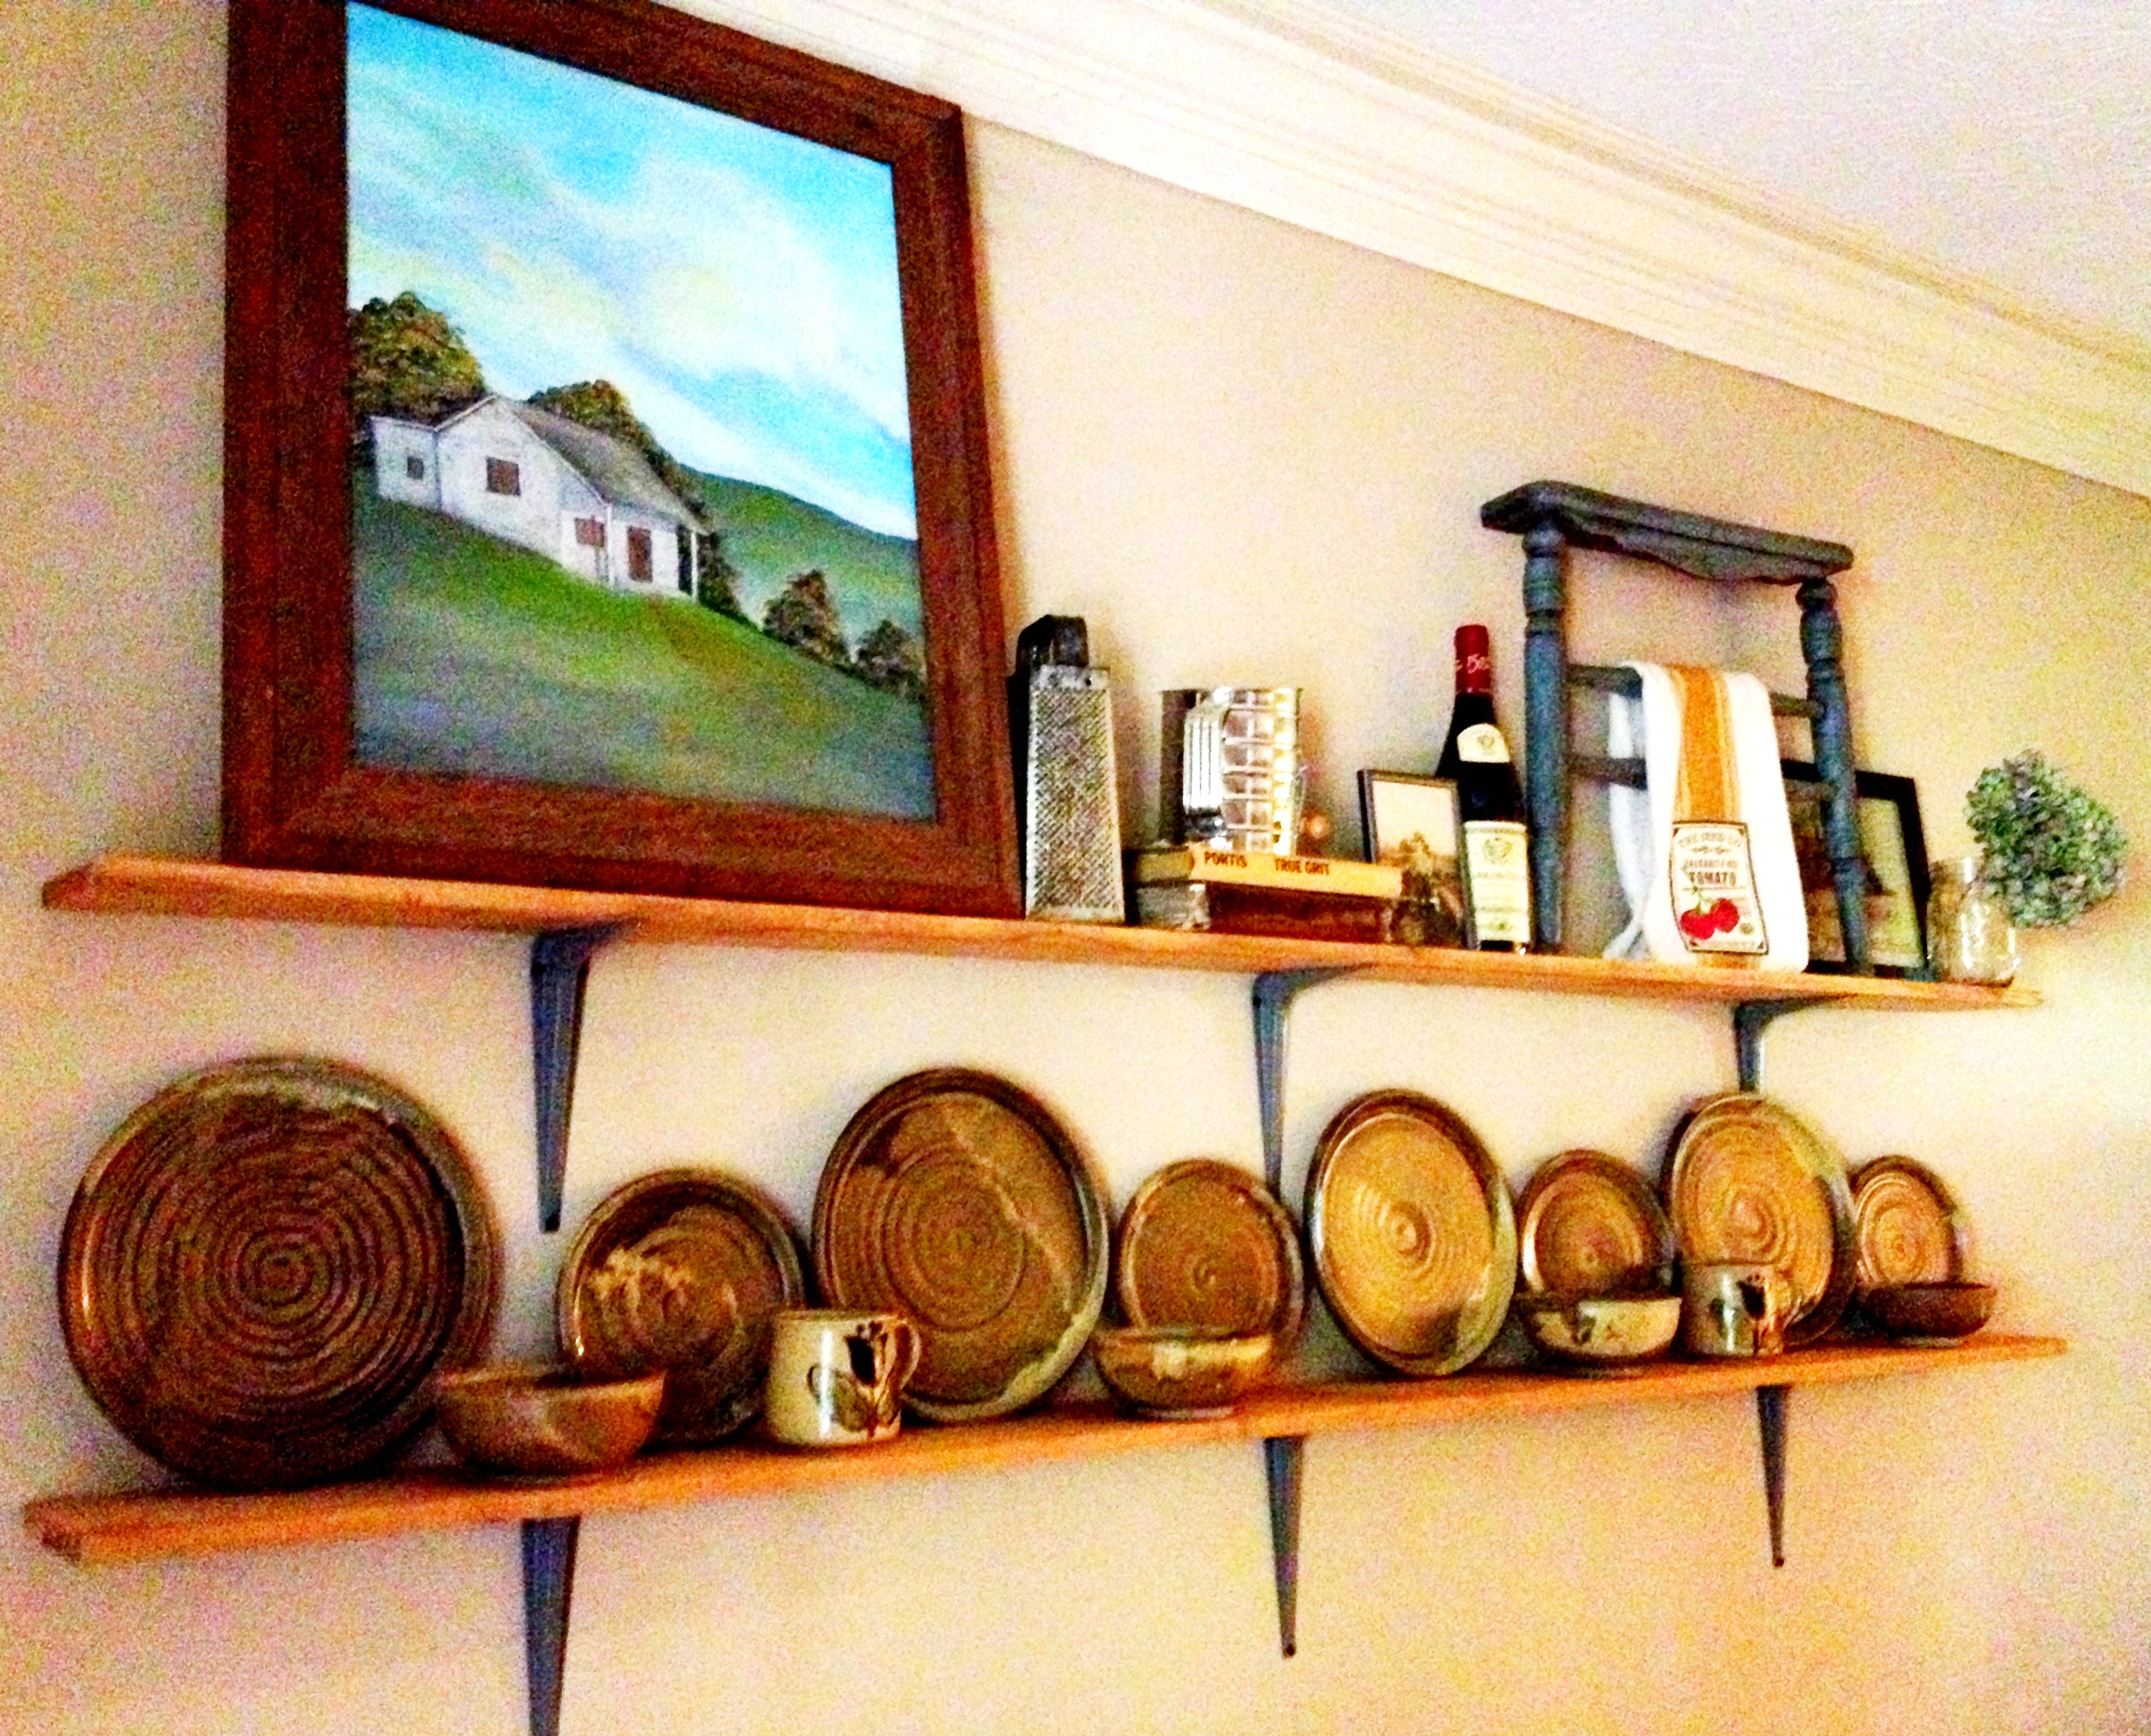
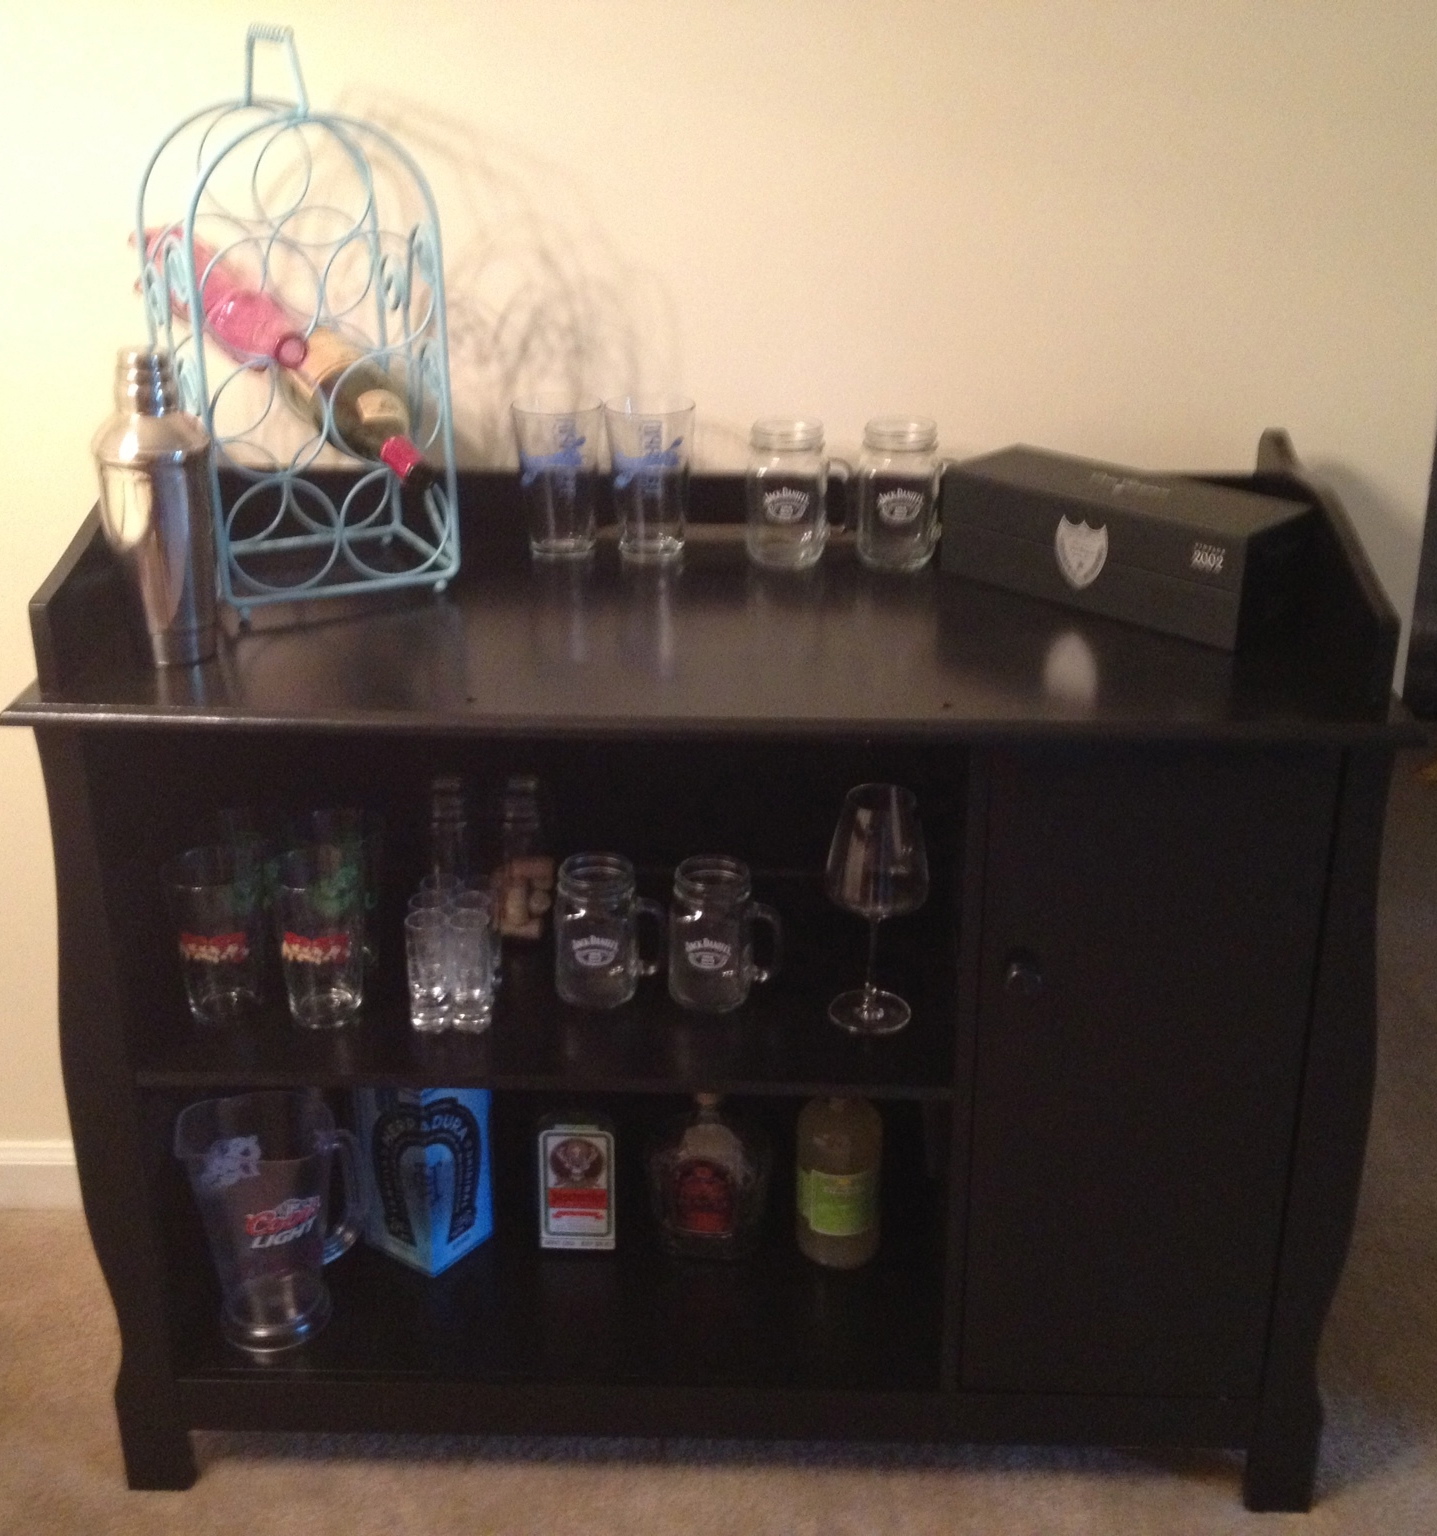
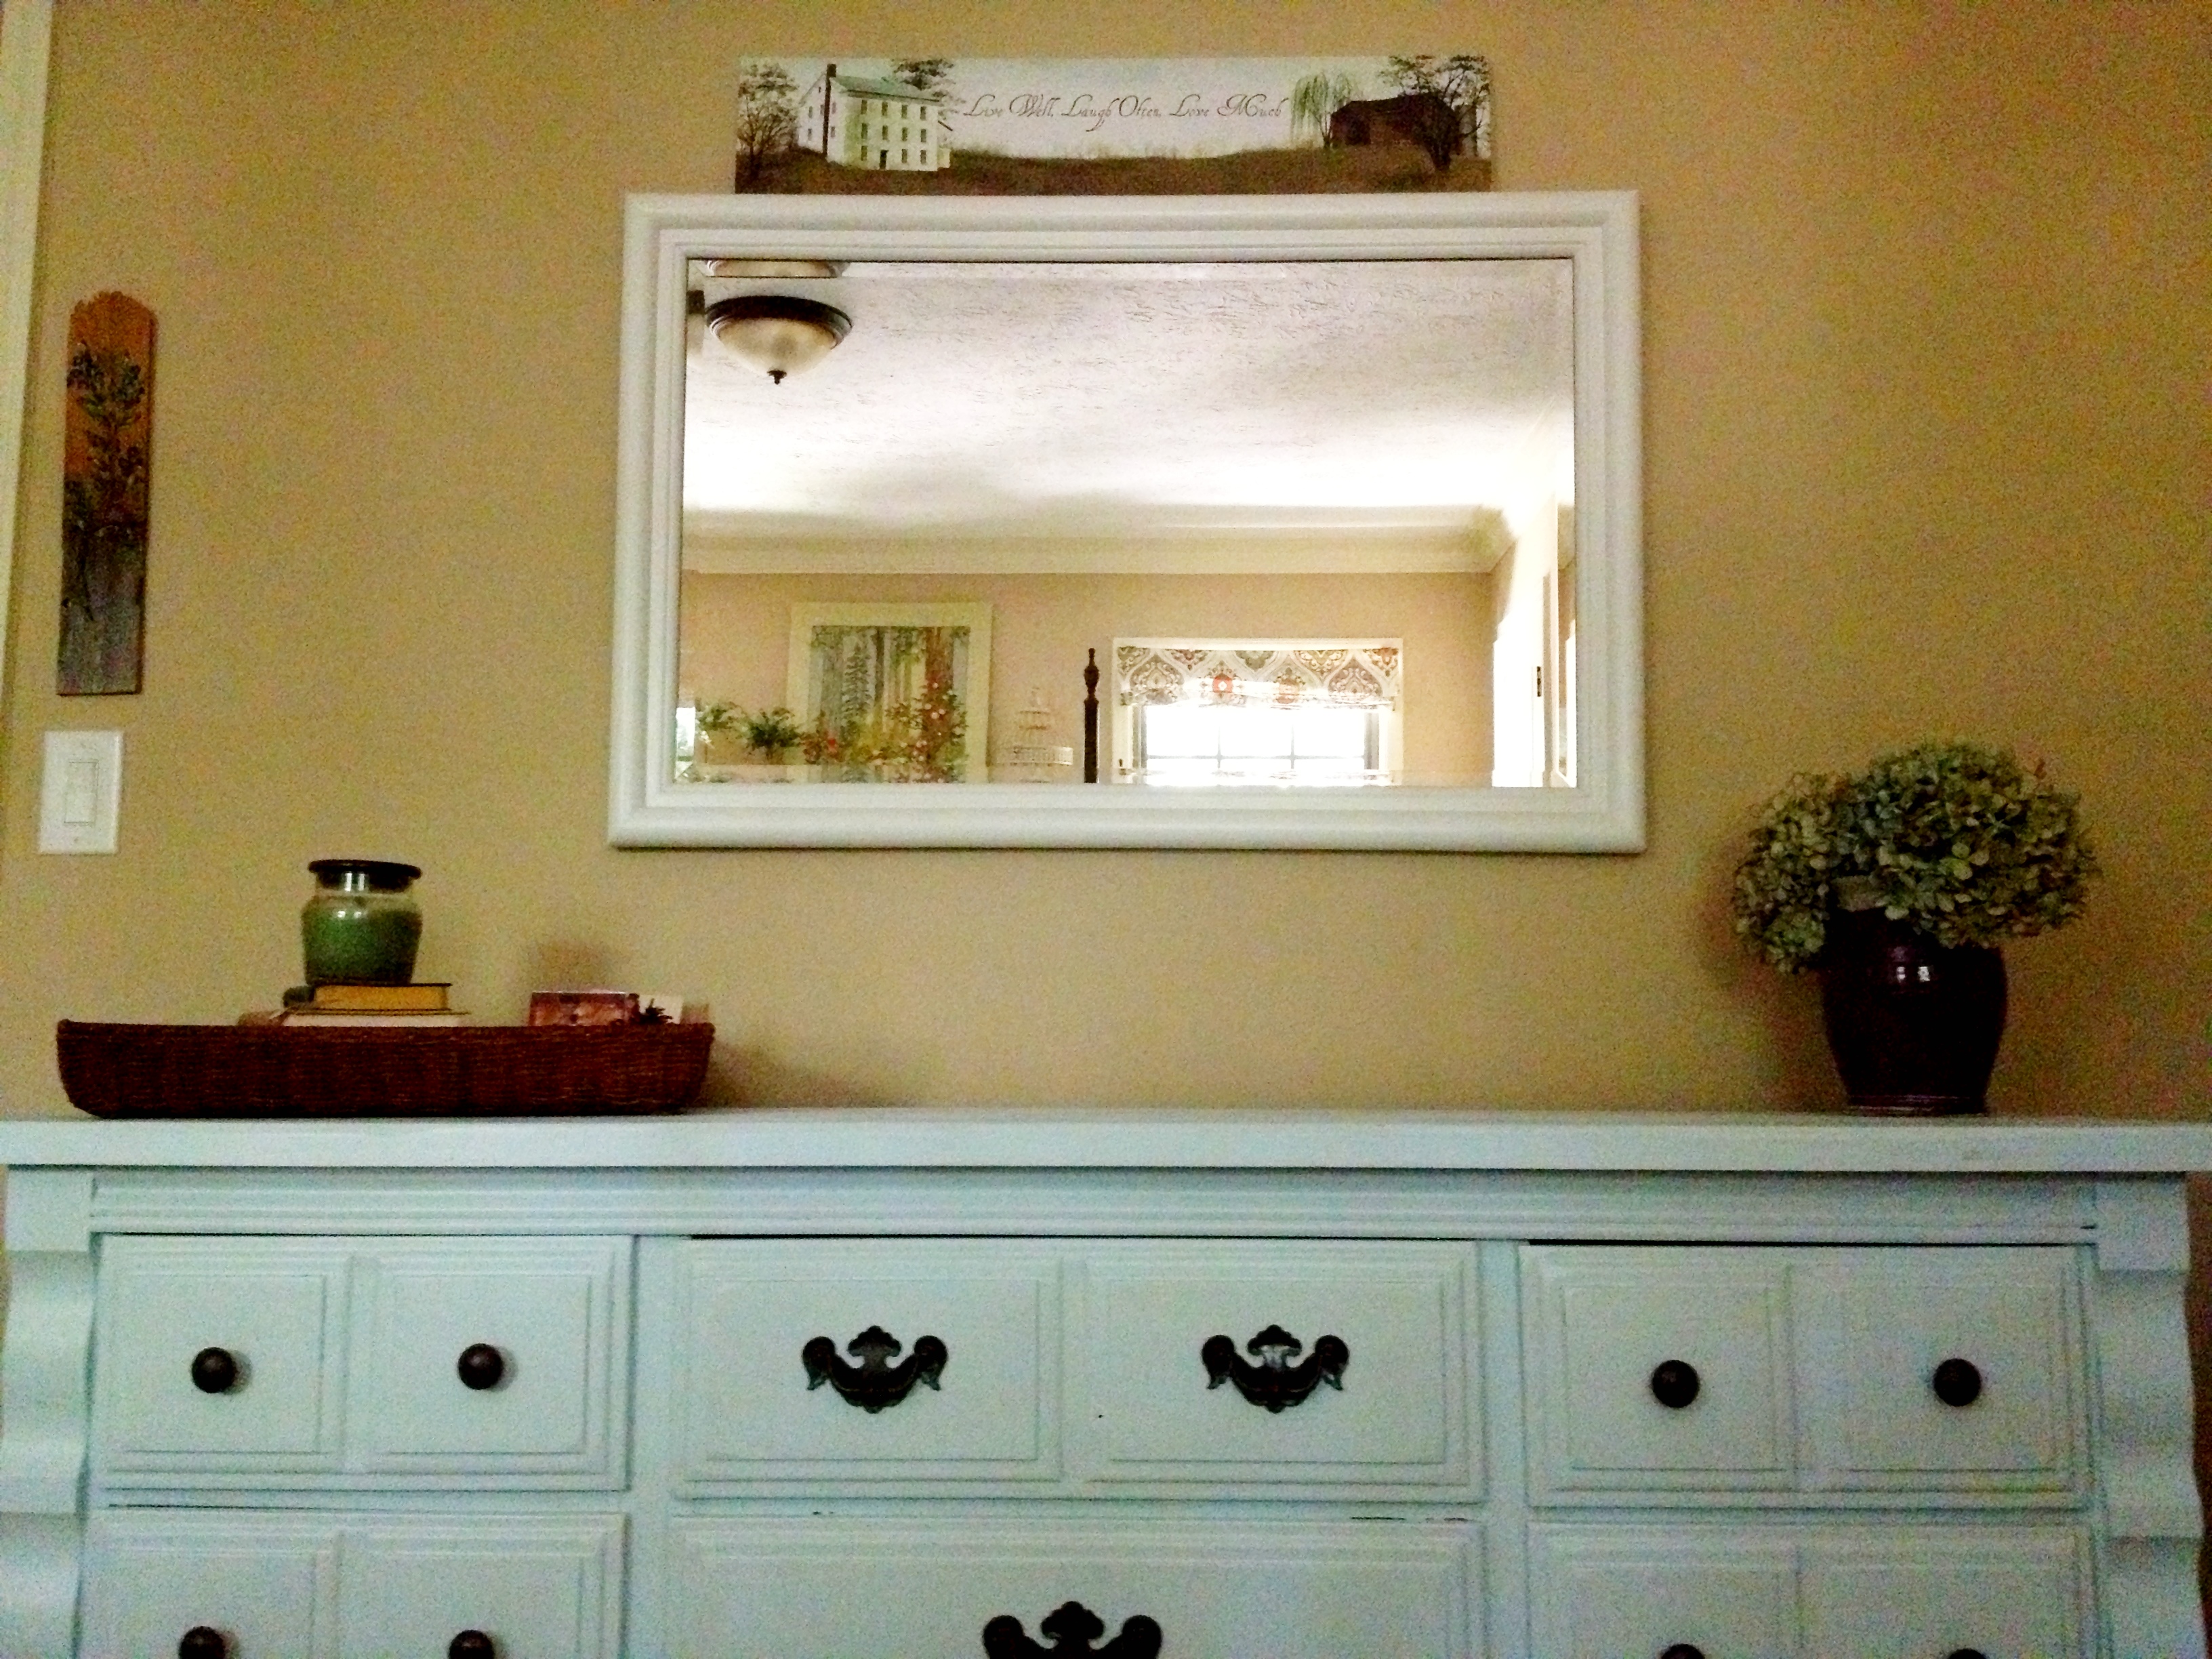
I seriously LOVE how it turned out- they did an awesome job!
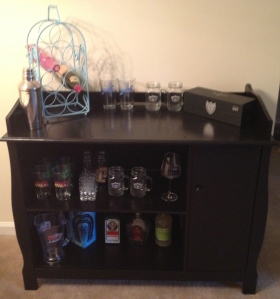
Perfect

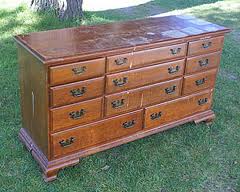
Before and After
-Baby changing table – $30
-Primer – $10
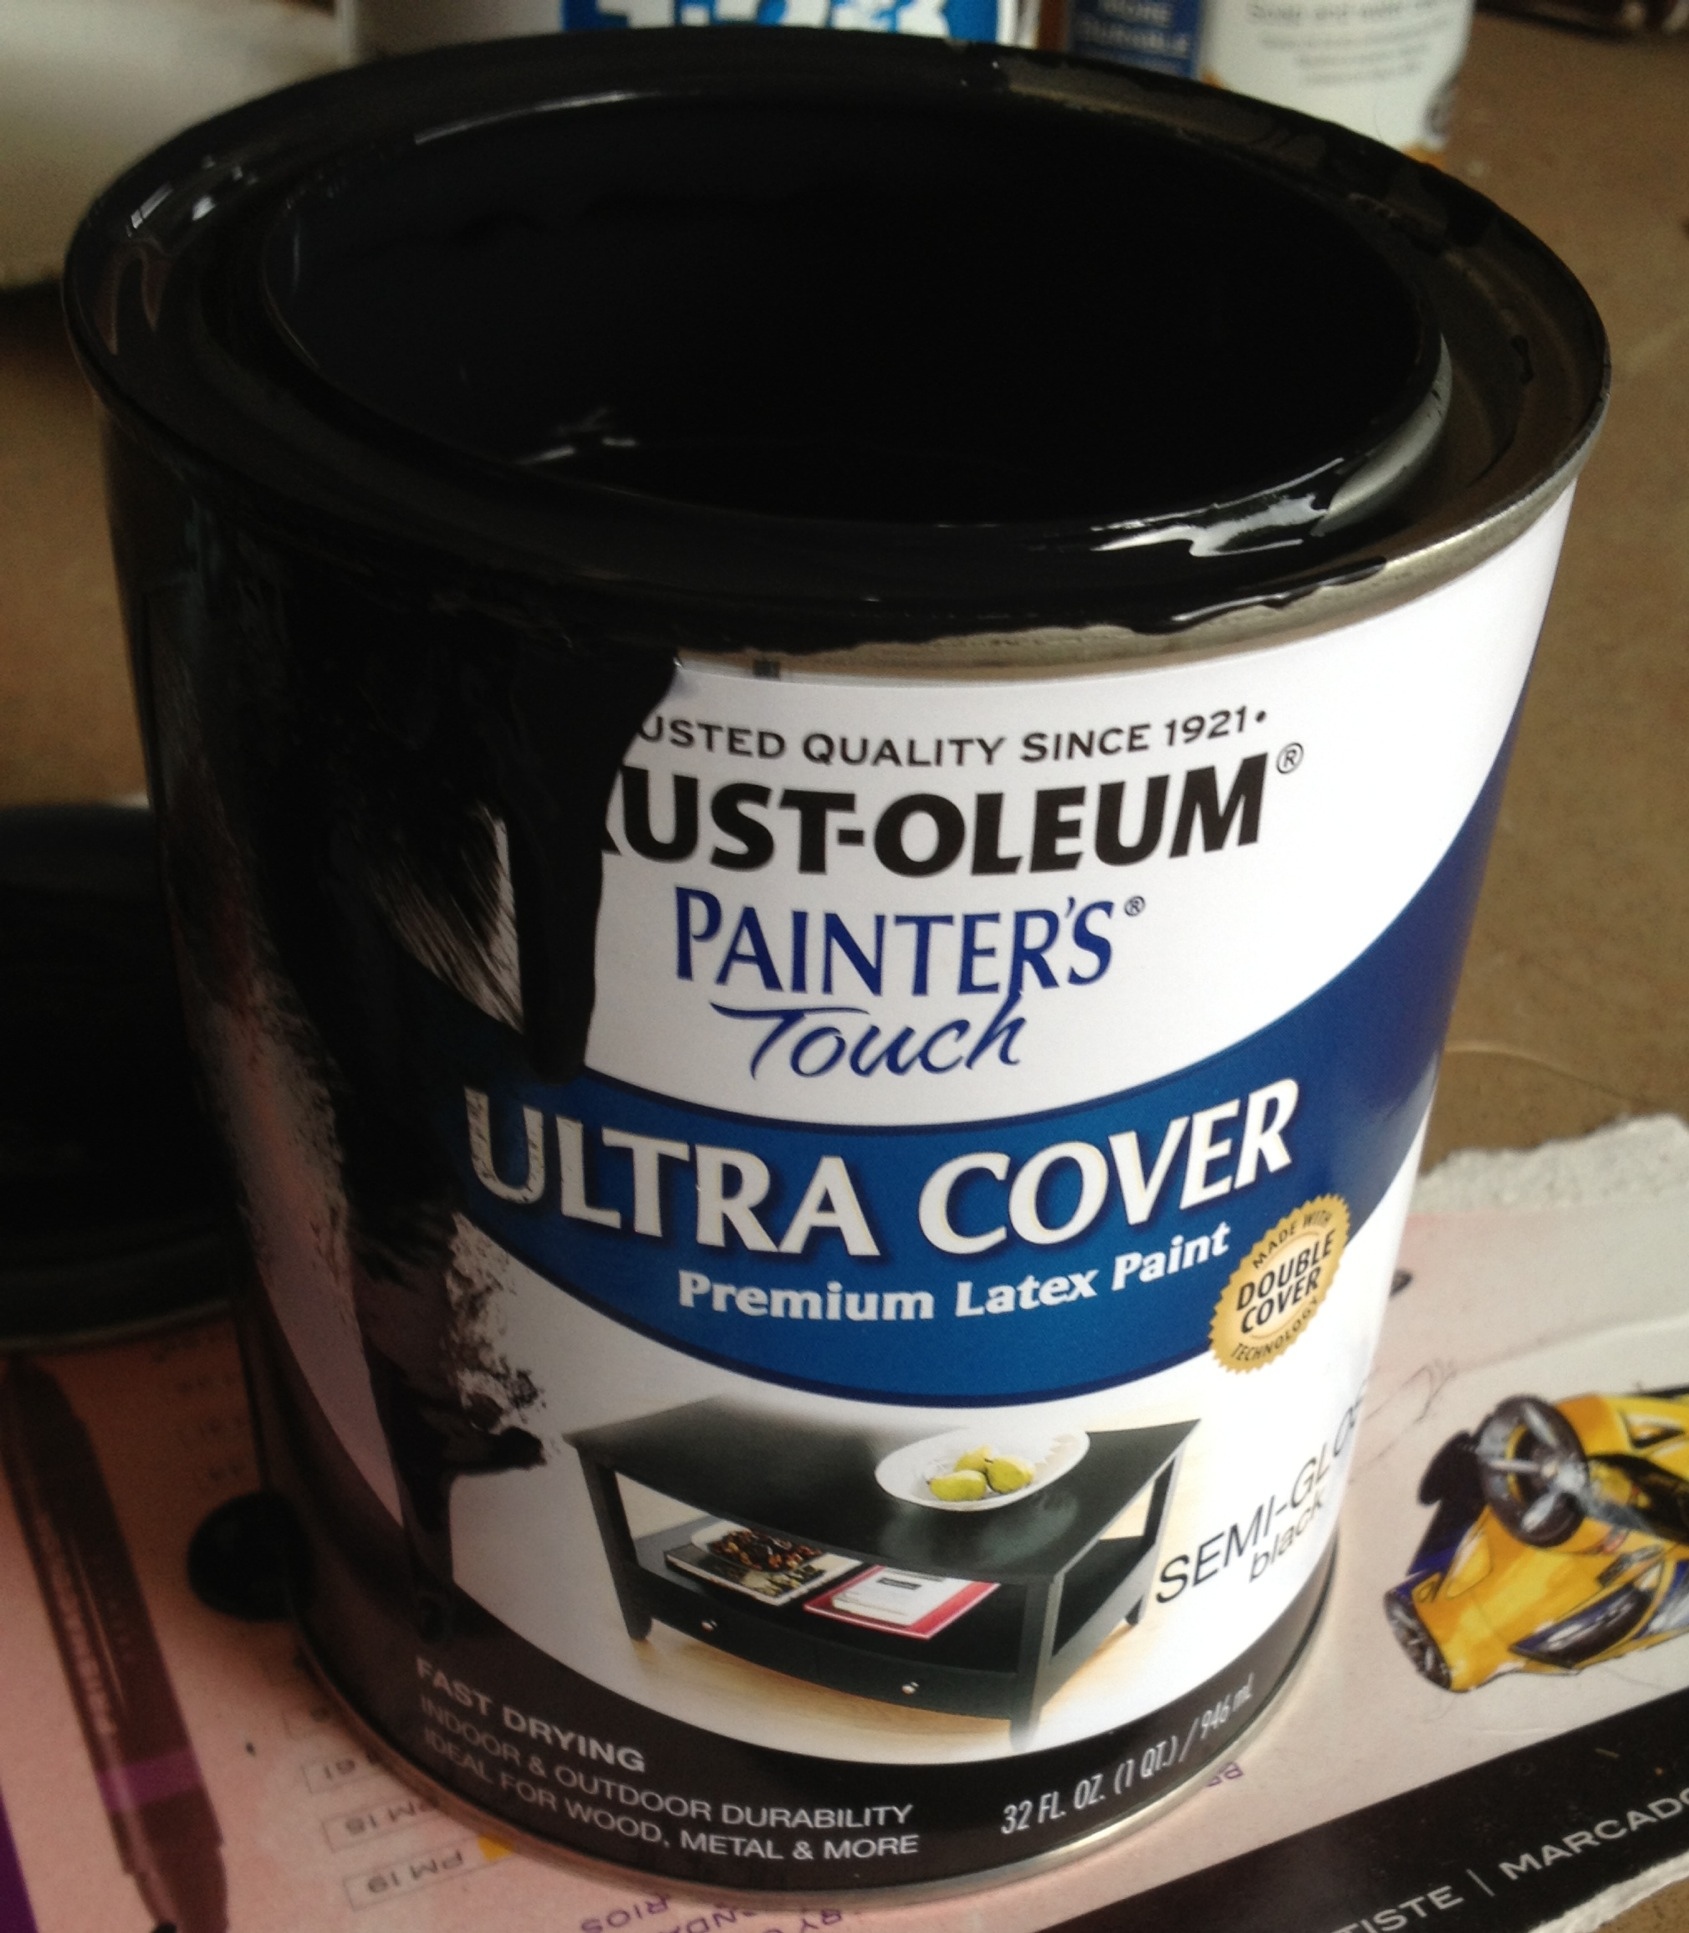
-Black paint – $8
-Shelf – $10
-Brackets- $1.50
-Brushes- previously purchased for other DIY projects
Total cost: roughly $60
Yeah!
Awesome job, Kitten Sorceress and Boyfriend. You guys are the best.
Wanna know why else they’re the best? On their bar, they also have the following great garage sale/antique finds:
– Jack Daniels glass mugs: 4 for $1
– Wine rack (spray painted blue with previously purchased spray paint): $3
-Braves pitcher: $3
Kitten Sorceress wanted everyone to note, however, that the Dom Pérignon is NOT from a garage sale. That would be quite the sale!
Also, puppies say hi.

Hi.