My sister (Kitten Sorceress) is adorable. She is super crafty and creates the BEST things. Always.
Since I’ve been busy/overwhelmed/barelymakingit with the start up of the new school year (let me tell you- 6th graders are exhausting. Every. Day. The energy- where does it come from??), I am posting yet another adorable DIY project that KS worked on recently.

Materials:
-Old t-shirts in whatever colors you choose
-Scissors
-Hot glue
-Twine/yarn/some type of string
-clothes pins
1. Cut your t-shirts into long, thin strips.

Cut
2. Roll each strip, using hot glue to secure the end of the strip to the BACK of the flower? Dot? The thing.

Roll.

Roll some more.

Keep rolling.
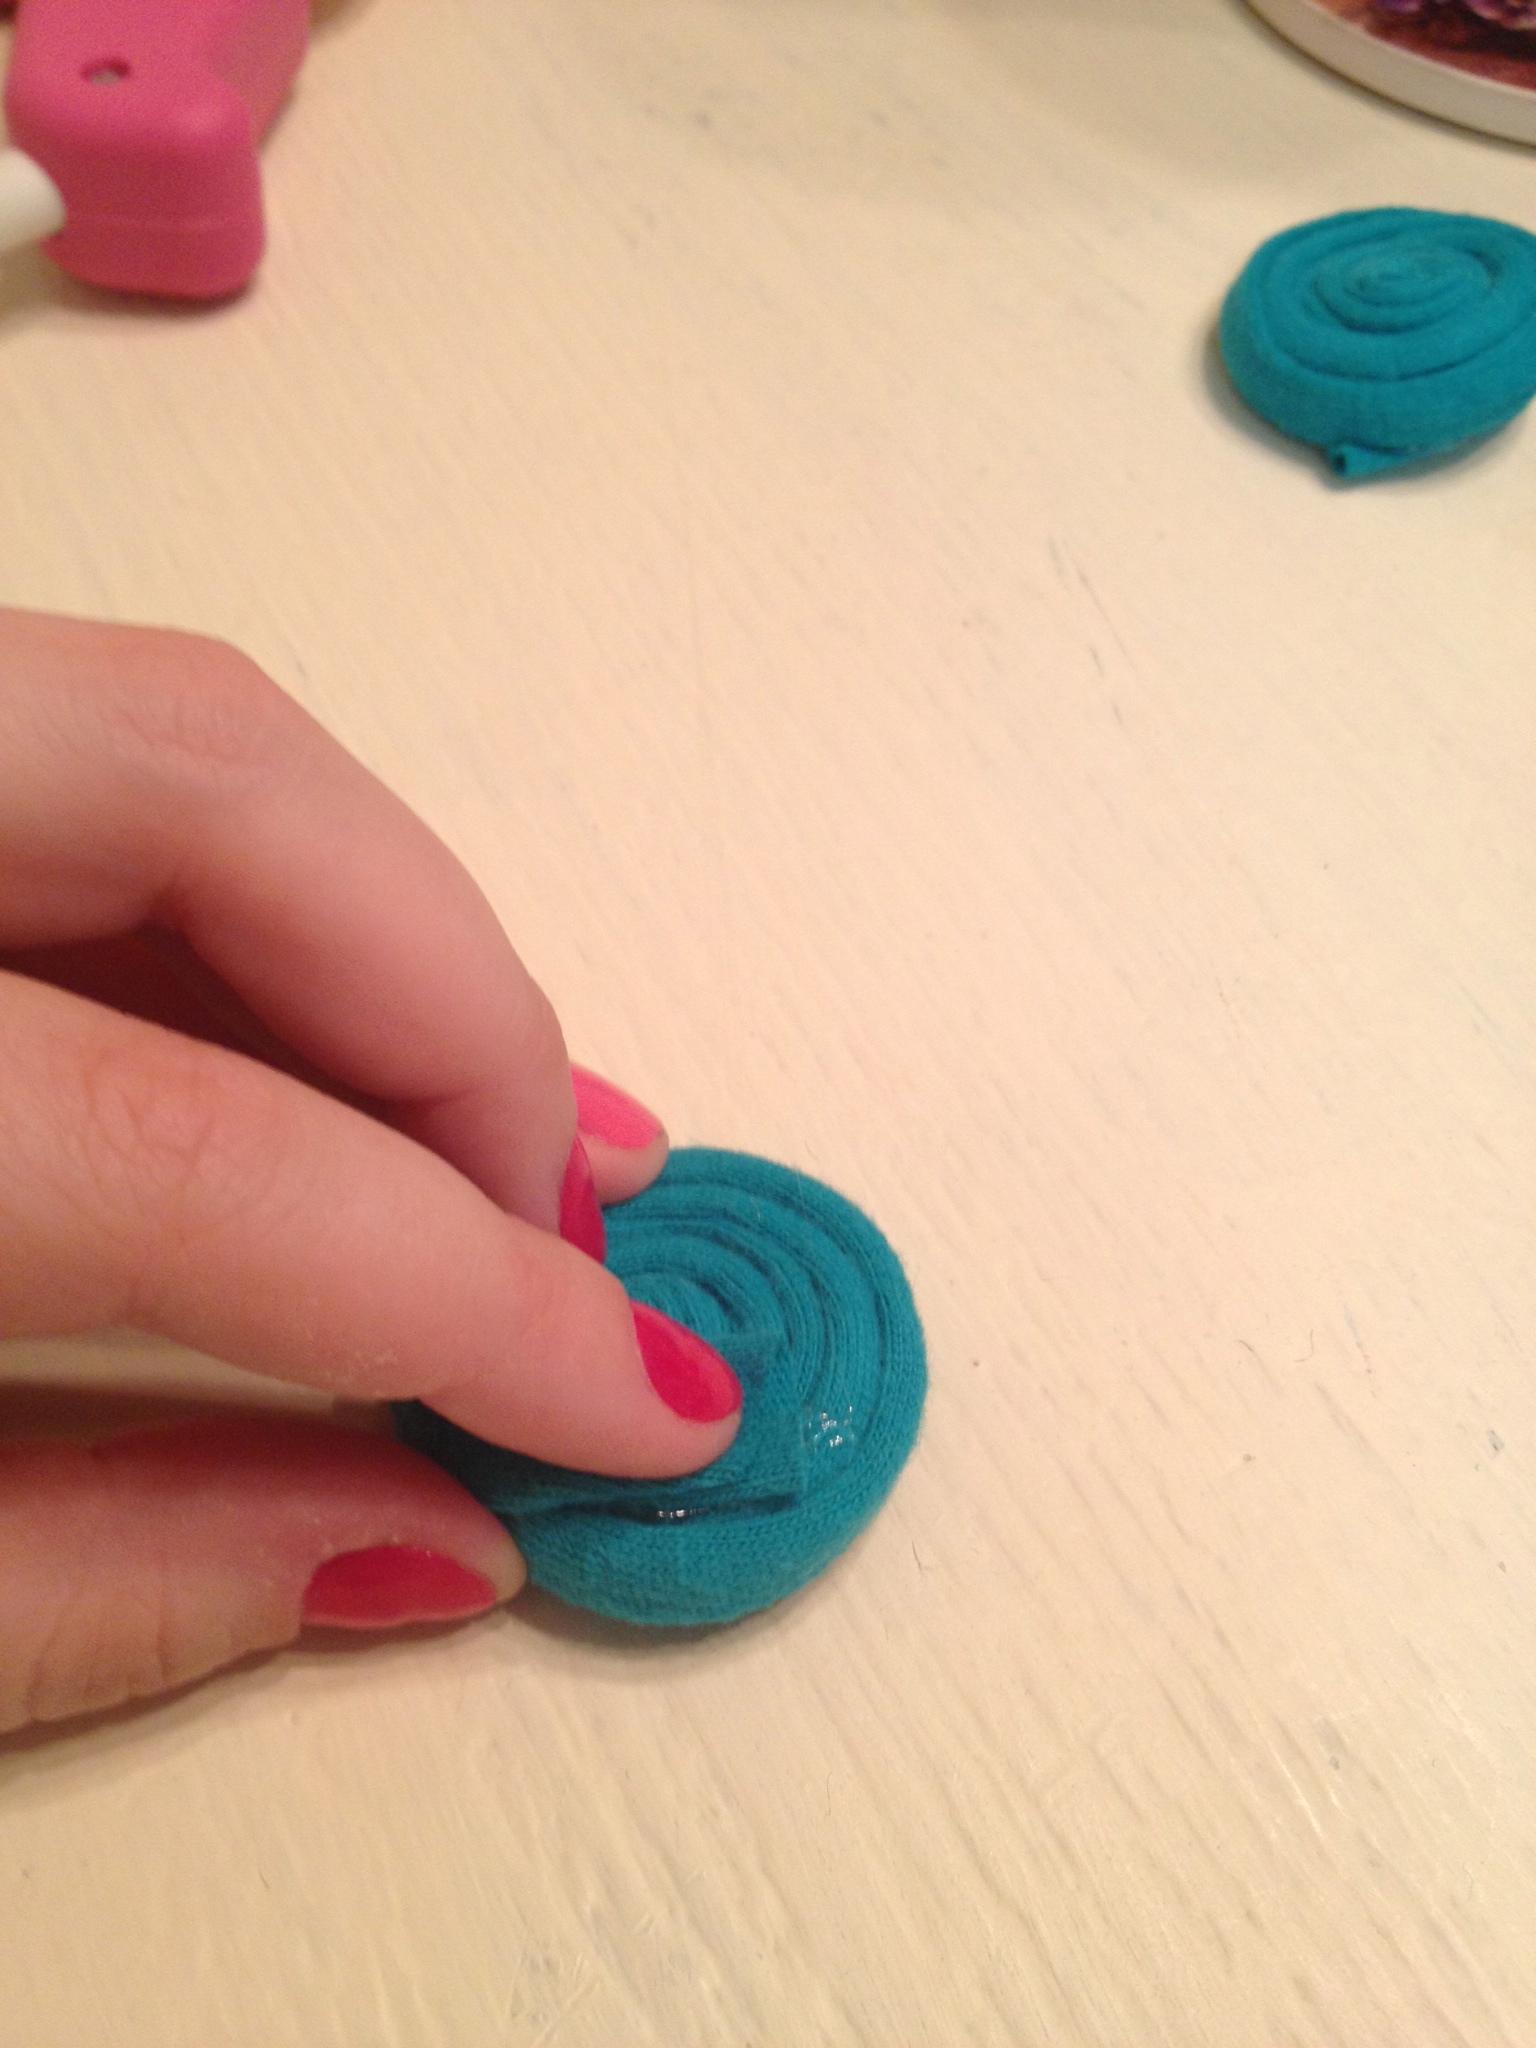
Glue.
3. Using a clothes pin, secure the THINGS to your piece of twine/yarn/whatever. Make sure they’re spaced apart evenly!

Pin.
4. Hang it up and give yourself a pat on the back for being so darn cute.

Love it.
I cannot wait to make a fall garland- I already have the old t-shirts set aside in a dusty red, burnt orange (seriously though- who makes a t-shirt in burnt orange?), and mustard yellow. It is going to be fabulous.
Happy week to you all! Cross your fingers I’ll have time to complete one of the 10 projects I have on my to-do list. How many days until summer??